1. Giới thiệu
This manual provides detailed instructions for the iTOMA Retro Alarm Clock Model 138. Please read thoroughly before use to ensure proper functionality and to maximize your product experience. This device combines time display, alarm functions, Bluetooth connectivity, and media playback options in a compact, vintagthiết kế lấy cảm hứng từ điện tử.
2. Nội dung gói hàng
Khi mở gói hàng, hãy kiểm tra xem có đầy đủ các mục sau đây không:
- 1 x iTOMA Retro Alarm Clock (Model 138)
- 1 x Cáp sạc Type-C
- 1 x Hướng dẫn sử dụng
Ghi chú: An AC adapter is not included and must be supplied separately for power.
3. Tính năng sản phẩm
The iTOMA Retro Alarm Clock Model 138 offers a range of functionalities:
- Hiển thị thời gian: Clear LED display with 12/24-hour format options.
- Chức năng báo động: Multiple alarm settings with adjustable volume (1-16 levels) and a 9-minute snooze feature.
- Chế độ báo động: Choose between everyday, weekdays only, or weekends only alarm activation.
- Kết nối Bluetooth: Bluetooth 5.1 for stable wireless audio streaming from compatible devices.
- Phát lại phương tiện: Supports TF (MicroSD) card slot and AUX jack for direct music playback.
- Gọi điện thoại rảnh tay: Integrated microphone for hands-free phone calls when connected via Bluetooth.
- Kiểm soát âm thanh: Option to turn off the display and reactivate it by sound (tapping or clapping).
- Độ sáng màn hình: Adjustable display brightness for optimal viewtrong các điều kiện ánh sáng khác nhau.
- Pin bộ nhớ: Internal battery to retain time and alarm settings during power outages (not for powering the device).

Figure 1: Key features of the iTOMA Retro Alarm Clock, including Bluetooth, AUX, hands-free calling, and TF card support.
4. Thiết lập
- Kết nối nguồn điện: Connect the provided Type-C charge cable to the DC 5V port on the back of the alarm clock. Plug the other end of the cable into a compatible USB AC adapter (not included) and then into a power outlet. The display should illuminate.
- Cài đặt thời gian ban đầu:
- Press and hold the "TIME" button on the back of the clock for 3 seconds. The year display will start flashing.
- Use the scroll wheel (or +/- buttons if applicable) to adjust the year.
- Press "TIME" again to move to month, then day, then hour, then minute. Adjust each setting using the scroll wheel.
- After setting the minute, press "TIME" one more time to select 12-hour or 24-hour format.
- Press "TIME" again to confirm and exit time setting mode.
- Memory Battery Activation: To ensure settings are saved during power interruptions, locate the memory battery switch on the back of the clock and slide it to the "ON" position.
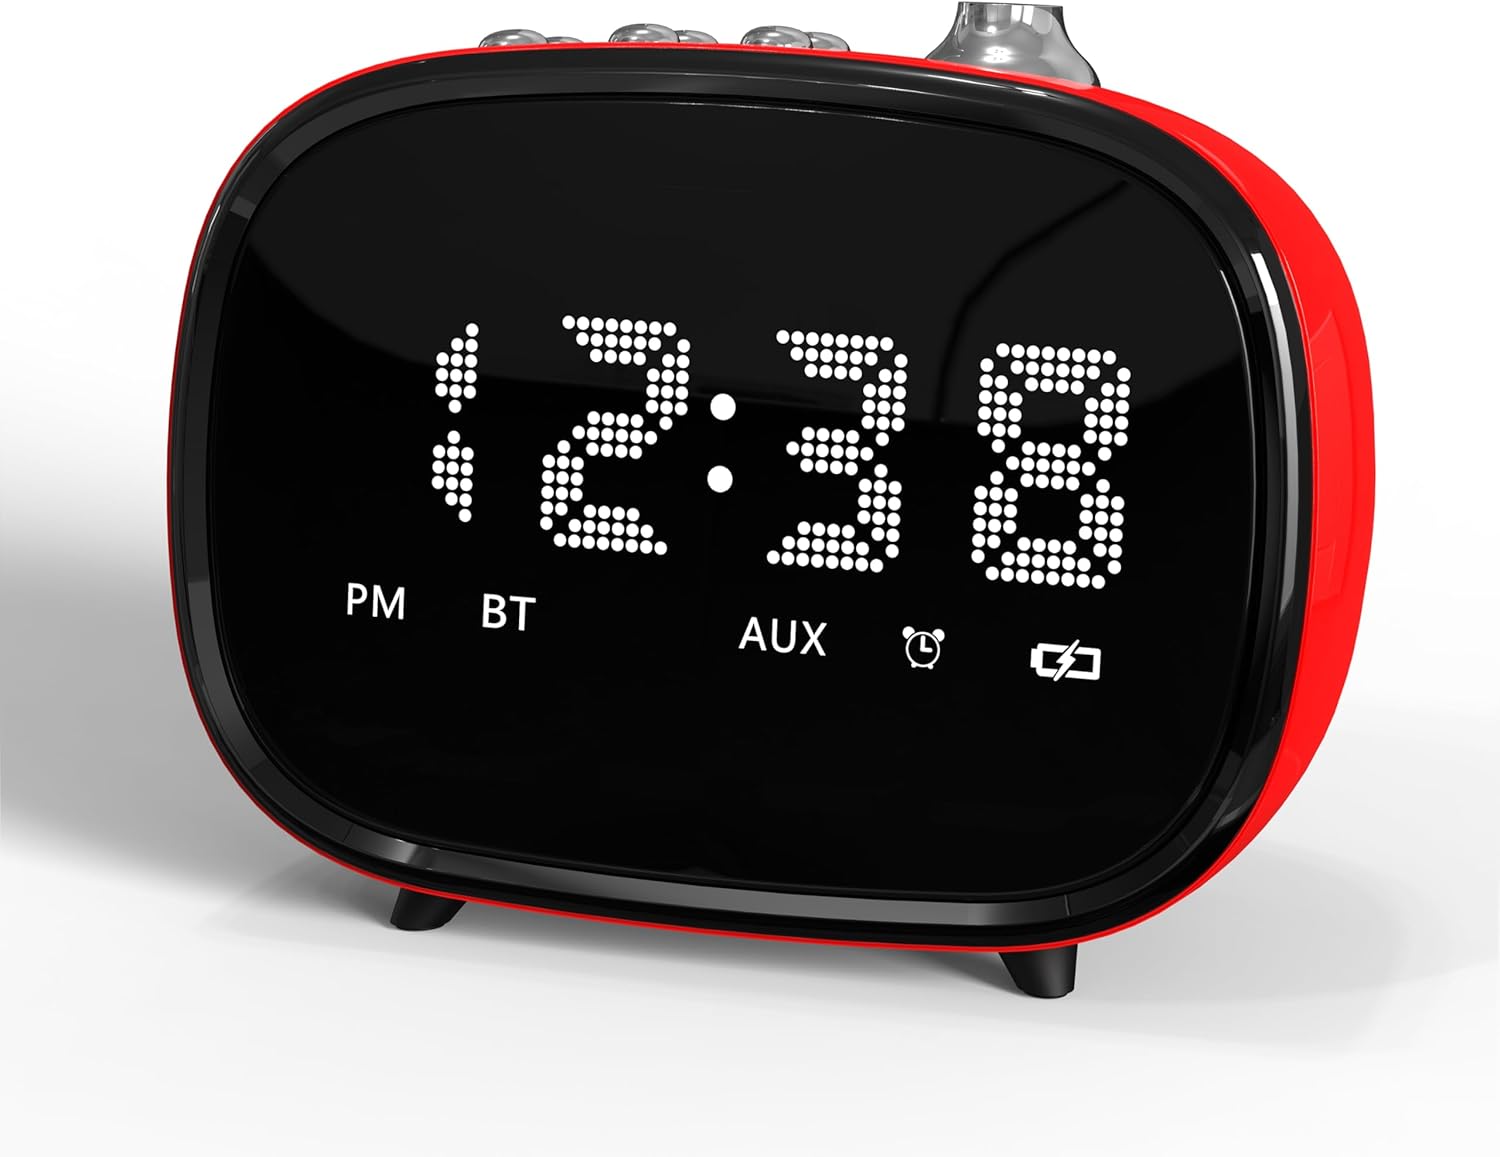
Hình 2: Mặt trước view of the iTOMA Retro Alarm Clock, showing the LED time display.
5. Hướng dẫn vận hành
5.1. Đặt báo thức
- Press and hold the "ALARM" button on the back of the clock for 3 seconds. "A1" (Alarm 1) will appear on the display.
- Press "ALARM" repeatedly to cycle through Alarm 1, Alarm 2, and Alarm 3 settings.
- When the desired alarm (e.g., A1) is displayed, use the scroll wheel to set the hour, then press "ALARM" to set the minute.
- After setting the minute, press "ALARM" again to choose the alarm mode:
- "--E": Alarm rings every day.
- "oNE": Alarm rings on weekdays only (Monday-Friday).
- "E": Alarm rings on weekends only (Saturday-Sunday).
- Press "ALARM" again to set the alarm volume (1-16 levels) using the scroll wheel.
- Press "ALARM" one last time to confirm and exit alarm setting.
- To activate/deactivate an alarm, use the corresponding ON/OFF switch on the bottom of the clock.
5.2. Chức năng báo lại
When an alarm sounds, press the large "SNOOZE" button on the top of the clock to temporarily silence it for 9 minutes. The alarm will sound again after 9 minutes. This can be repeated up to 6 times.

Figure 3: The snooze function allows for an additional 9 minutes of rest after the alarm sounds.
5.3. Ghép nối Bluetooth
- Hãy đảm bảo đồng hồ báo thức đã được bật nguồn.
- Activate Bluetooth on your mobile device or other audio source.
- Tìm kiếm "iTOMA 138" (or similar) in your device's Bluetooth settings.
- Chọn thiết bị cần ghép nối. Âm thanh xác nhận sẽ phát ra khi quá trình ghép nối thành công.
- You can now stream audio to the alarm clock or use it for hands-free calling.
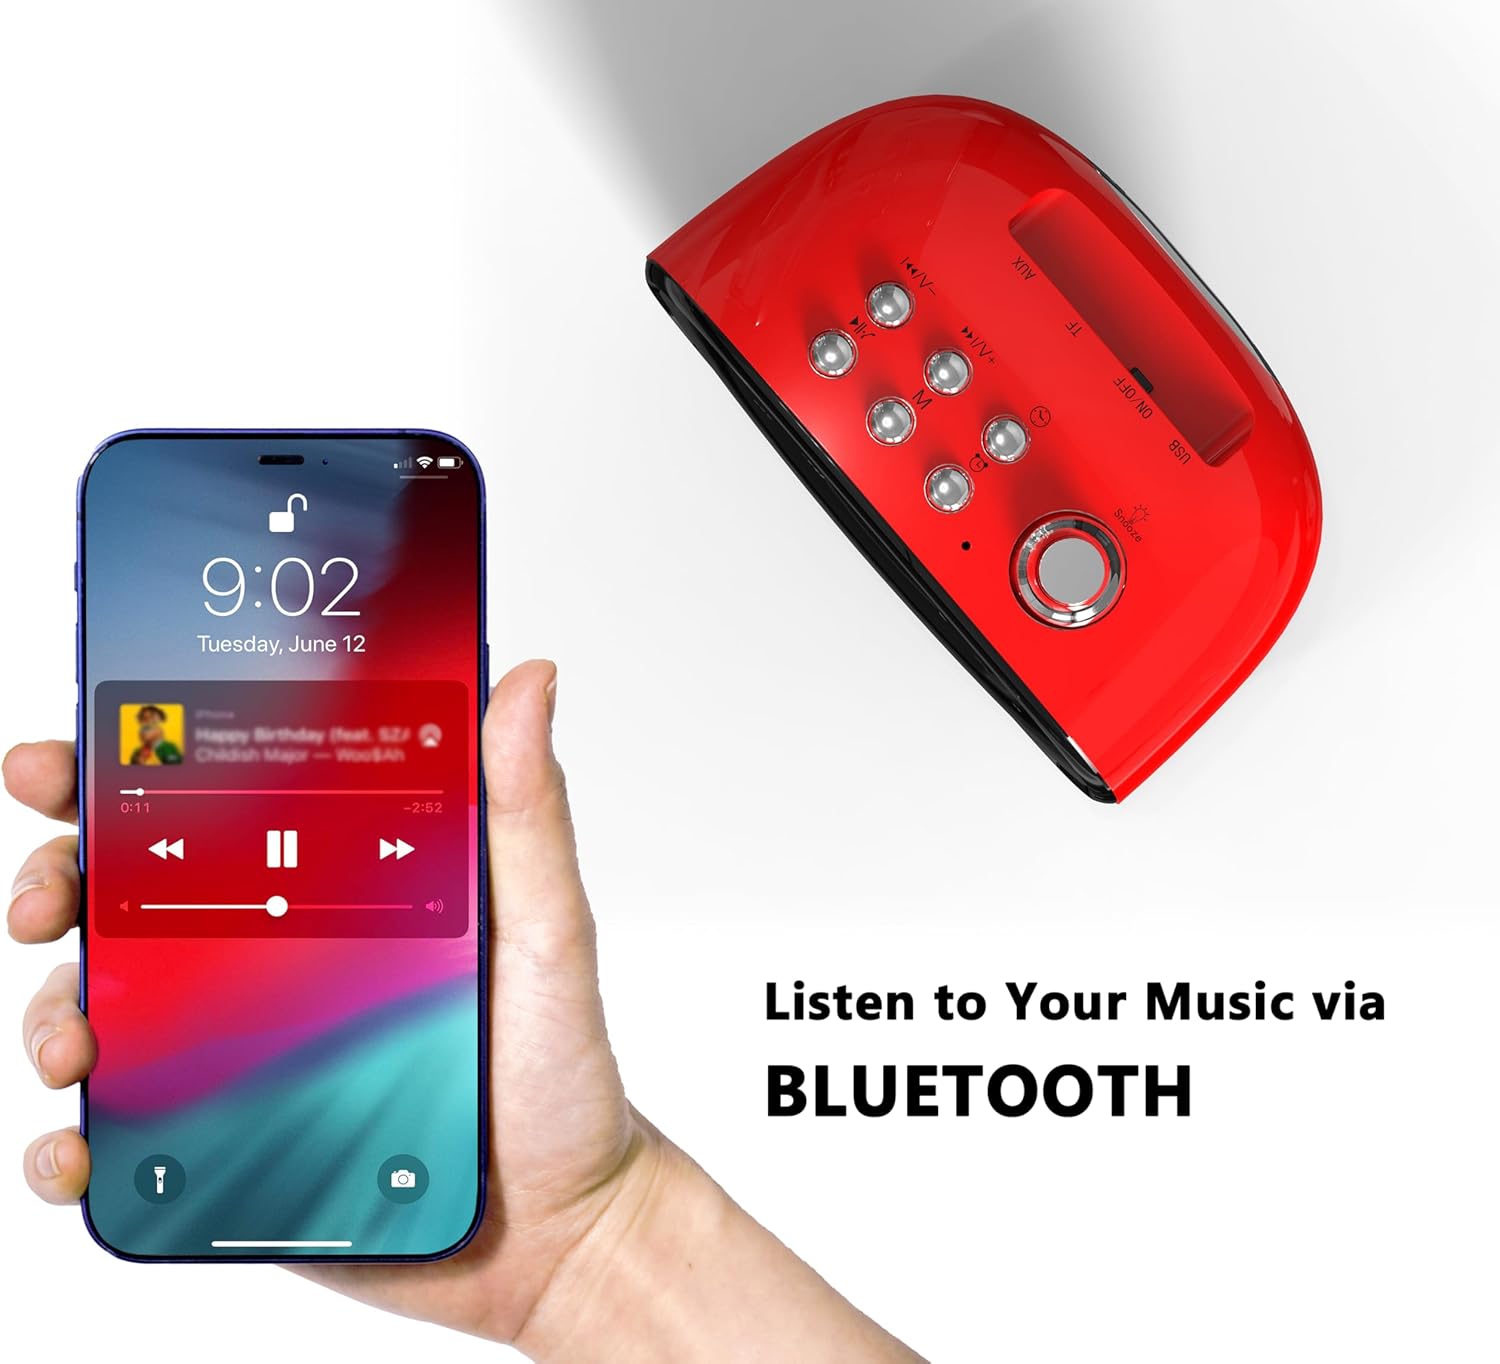
Figure 4: Connect your smartphone via Bluetooth to play music through the alarm clock's speaker.
5.4. TF Card and AUX Playback
- Thẻ TF: Chèn thẻ TF (MicroSD) có âm thanh files into the designated slot on the back of the clock. The clock should automatically switch to TF card playback mode.
- Giắc cắm phụ: Connect an audio device using a 3.5mm AUX cable to the AUX jack on the back of the clock. The clock should automatically switch to AUX input mode.
5.5. Sound Control (Display On/Off)
To enable or disable the sound control feature, use the "SOUND CONTROL" ON/OFF switch on the back of the clock. When "ON", the display will turn off after a few seconds of inactivity. To reactivate the display, simply tap the clock, click a button, or make a sound (e.g., clap your hands).
5.6. Điều chỉnh độ sáng màn hình
The display brightness can be adjusted using the dedicated switch on the back of the clock. Slide the switch to your preferred brightness level (Off, Dim, Bright).
6. Bảo trì
- Vệ sinh: Hãy dùng một miếng vải mềm, khô để lau sạch bề mặt đồng hồ báo thức. Tránh sử dụng các chất tẩy rửa có tính ăn mòn hoặc dung môi.
- Vị trí: Đặt thiết bị trên bề mặt phẳng, ổn định, tránh ánh nắng trực tiếp, nguồn nhiệt và hơi ẩm.
- Quyền lực: Always use the provided Type-C cable. Ensure the AC adapter used is compatible (DC 5V).
KHAI THÁC. Xử lý sự cố
- Không có màn hình/nguồn: Ensure the Type-C cable is securely connected to both the clock and a working power outlet via a compatible AC adapter.
- Báo thức không kêu: Check if the alarm is activated using the ON/OFF switch on the bottom. Verify the alarm time and mode are correctly set. Ensure the alarm volume is not set to 0.
- Sự cố ghép nối Bluetooth: Ensure the clock is not already paired with another device. Turn off and on Bluetooth on your device and the clock, then try pairing again.
- Settings Lost After Power Outage: Ensure the memory battery switch on the back is in the "ON" position.
- Resetting the Clock: If the clock malfunctions or settings are incorrect, locate the "RST" (Reset) button on the back. Use a thin object (like a toothpick) to press and hold the button for a few seconds to reset the device to factory defaults.
8. Thông số kỹ thuật
| Thương hiệu | iTOMA |
| Số hiệu mẫu | 138 |
| Kiểu hiển thị | DẪN ĐẾN |
| Nguồn điện | Type-C cable (AC Adapter not included) |
| Kích thước sản phẩm | Rộng 4.72" x Cao 3.74" |
| Trọng lượng sản phẩm | 13.1 ounce |
| Vật liệu | Acrylonitrile Butadiene Styrene (ABS) |
| Công nghệ kết nối | USB-C, Bluetooth 5.1 |

Figure 5: Dimensions of the iTOMA Retro Alarm Clock.
9. Bảo hành và Hỗ trợ
The iTOMA Retro Alarm Clock Model 138 comes with a Bảo hành hàng ngày. For any questions, missing accessories, or other issues, please contact iTOMA customer support.
Email liên hệ: Threeducksdirect@outlook.com
Please include your order ID when contacting support for warranty claims.


