1. Giới thiệu
This manual provides detailed instructions for the Apera Instruments GroStar Series GS3 EC/ppm Pen Tester Kit (AI103G). This lab-grade conductivity meter is designed for accurate measurement of EC (Electrical Conductivity), 500ppm, and 700ppm, along with temperature, making it suitable for hydroponics and general water quality testing. The device features a replaceable titanium conductivity sensor and a user-friendly interface.
2. Sản phẩm hếtview
The GroStar Series GS3 EC/ppm Pen Tester is engineered for reliability and ease of use. Key features include:
- Measures conductivity (EC), 500ppm, 700ppm, and temperature.
- Replaceable titanium sensor for high accuracy in the 0 to 10 EC range.
- Backlit HD screen for clear readings.
- Grower-friendly calibration workflow with a calibration reminder function.

Figure 1: Apera Instruments GroStar Series GS3 EC/ppm Pen Tester.
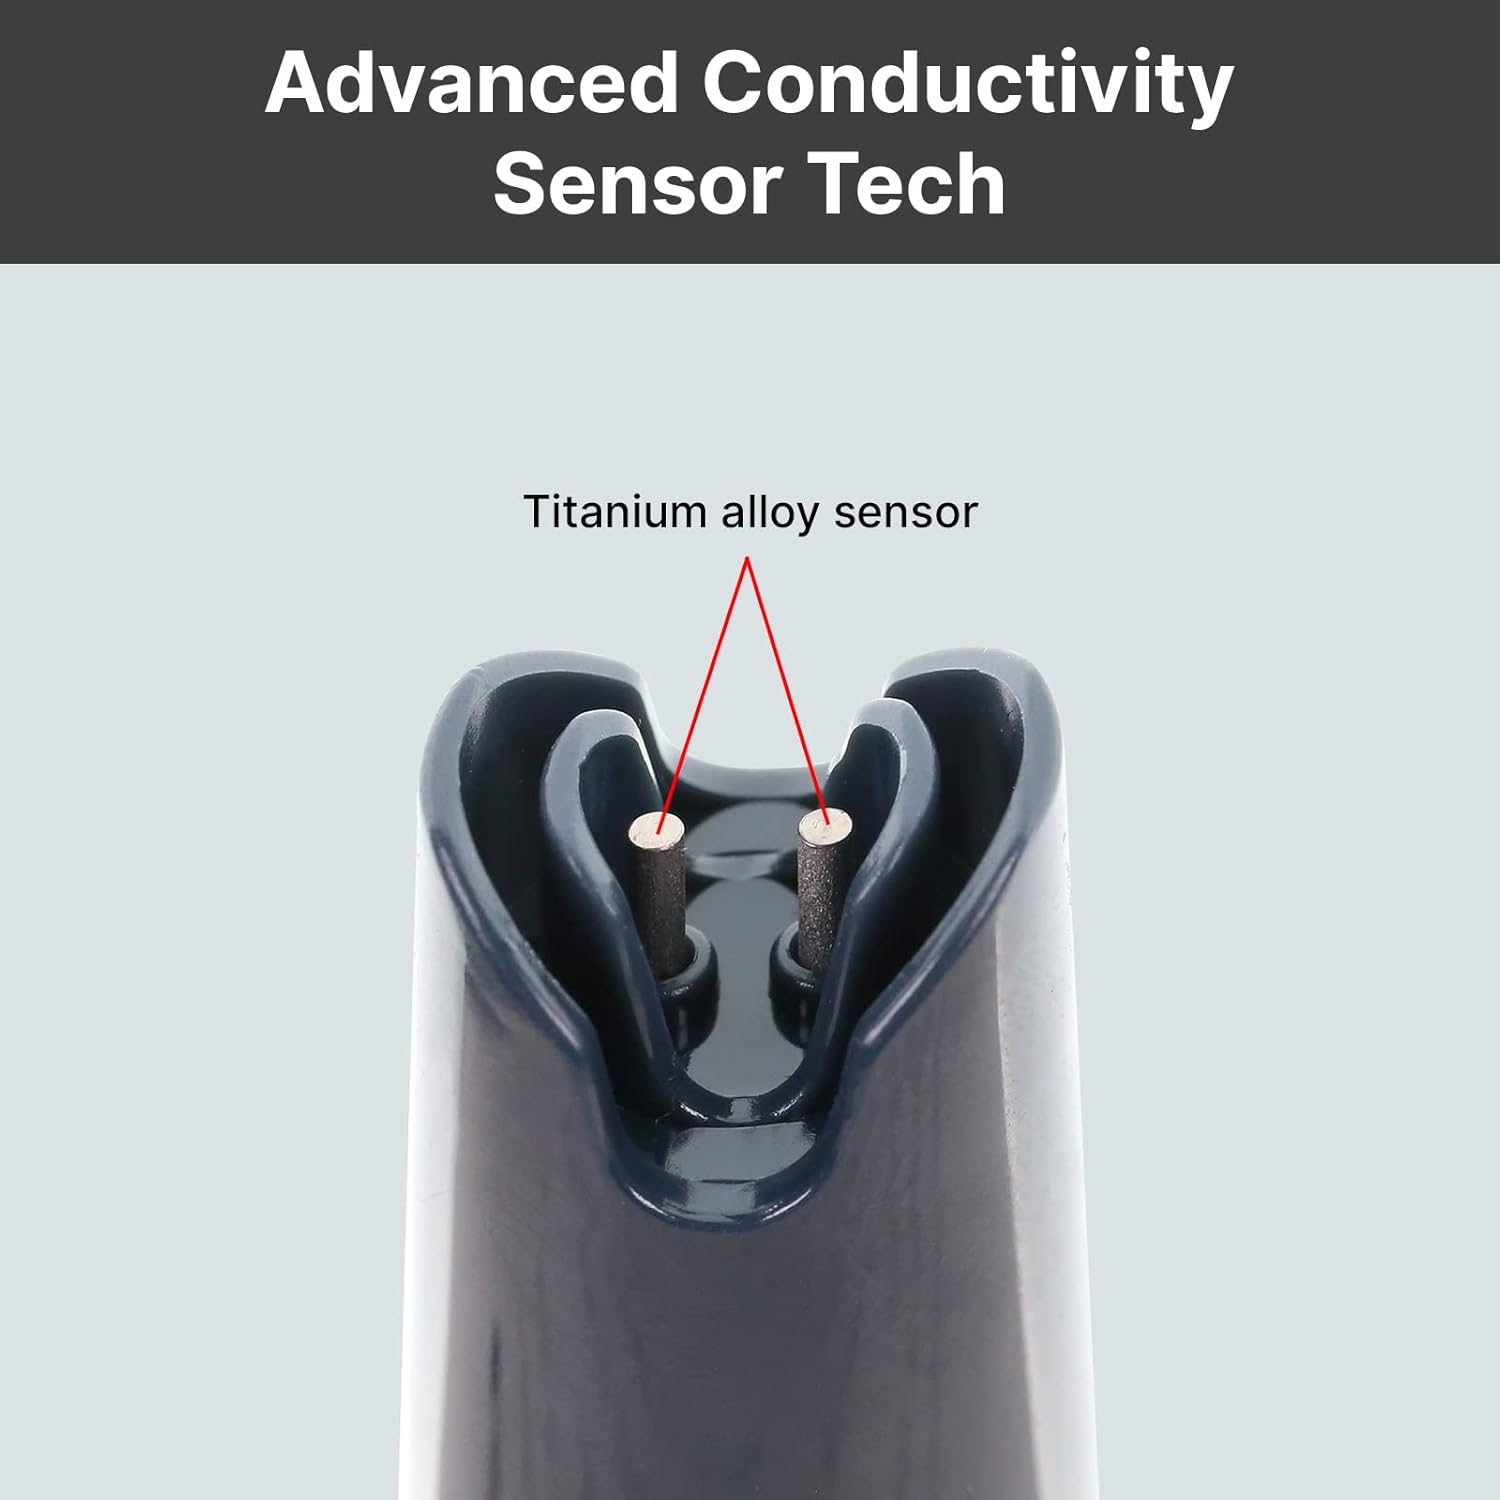
Hình 2: Cận cảnh view of the durable titanium alloy sensor for conductivity measurements.
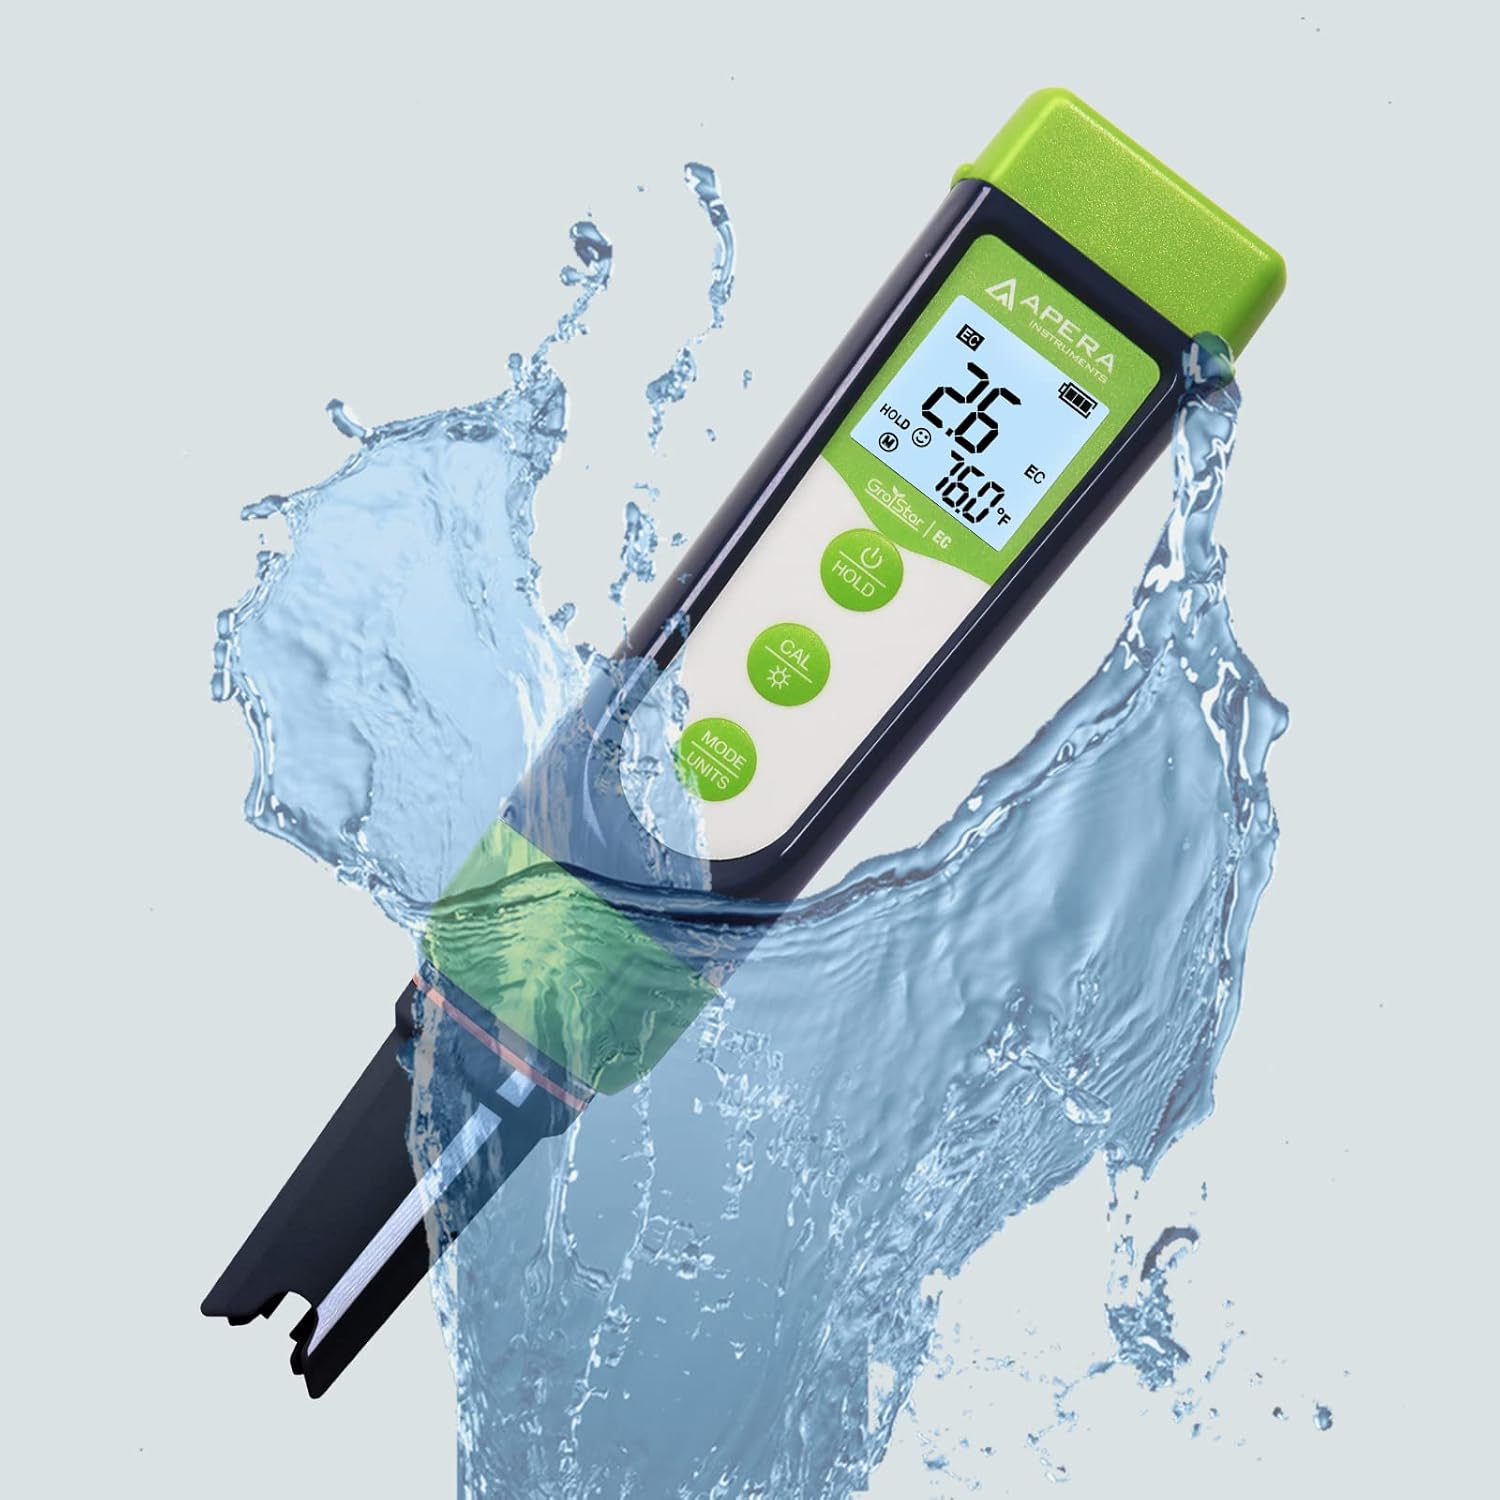
Figure 3: The GroStar GS3 Pen Tester demonstrating its water resistance during use.
3. Thiết lập
Before first use, ensure all components are present and the device is ready for operation.
3.1 Có gì trong hộp
- Apera Instruments GroStar Series GS3 EC/ppm Pen Tester (Gen II)
- 2.77 EC Calibration Solution
- Dây đeo cổ
- 4 AAA batteries (pre-installed or included separately)

Figure 4: The complete kit contents, including the tester, calibration solution, and lanyard.
3.2 Lắp đặt pin
The device requires 4 AAA batteries. If not pre-installed, open the battery compartment located at the top of the tester, insert the batteries according to the polarity indicators, and securely close the compartment.
3.3 Chuẩn bị ban đầu
- Tháo nắp bảo vệ khỏi cảm biến.
- Rinse the sensor with distilled or deionized water.
- Gently shake off excess water.
4. Hướng dẫn vận hành
4.1 Bật/Tắt nguồn
Nhấn nút QUYỀN LỰC nút để bật hoặc tắt máy kiểm tra.
4.2 Thực hiện một phép đo
- Ensure the tester is clean and calibrated.
- Nhúng cảm biến vào sampGiải pháp là đảm bảo cảm biến được ngâm hoàn toàn trong dung dịch.
- Khuấy nhẹ và chờ cho đến khi chỉ số hiển thị ổn định.
- The display will show EC/ppm and temperature readings.
4.3 Switching Measurement Modes (EC/ppm)
Nhấn nút MODE/UNITS button to cycle through EC, 500ppm, and 700ppm measurement modes.

Figure 5: The tester's display cycling through different measurement units.
4.4 Chức năng Giữ
Nhấn nút GIỮ để giữ nguyên số đọc hiện tại trên màn hình. Nhấn lại để nhả.
4.5 TruRead Display
The TruRead display provides MAX, AVG, and MIN readings, offering a comprehensive view of your measurements.

Figure 6: The TruRead display feature, showing maximum, average, and minimum recorded values.
5. Hiệu chuẩn
Regular calibration ensures accurate measurements. The GS3 features a grower-friendly calibration workflow and a reminder function.
5.1 Quy trình hiệu chuẩn
- Bật máy kiểm tra.
- Nhấn nút CAL nút để vào chế độ hiệu chuẩn.
- Immerse the sensor into the 2.77 EC calibration solution.
- The tester will automatically recognize the solution and calibrate. Wait for the stable reading and confirmation.
- Rinse the sensor with distilled water after calibration.

Figure 7: Visual representation of the tester's display in measurement, calibration, and error states.
5.2 Calibration Reminder
The tester will automatically remind you when recalibration is due, ensuring consistent accuracy.
6. Bảo trì
6.1 Vệ sinh cảm biến
After each use, rinse the sensor thoroughly with distilled or deionized water to prevent residue buildup. Do not scrub the sensor vigorously.
6.2 Lưu trữ
Always replace the protective cap after use. For long-term storage, ensure the sensor is kept moist. Refer to the product packaging or Apera Instruments website for specific storage solution recommendations if applicable.
6.3 Thay thế cảm biến
The titanium EC sensor is replaceable. If the sensor performance degrades significantly or it becomes damaged, a new sensor can be purchased and easily installed by twisting off the old one and attaching the new one.
KHAI THÁC. Xử lý sự cố
| Vấn đề | Nguyên nhân có thể | Giải pháp |
|---|---|---|
| Các bài đọc không chính xác | Sensor is dirty or dry; Calibration is outdated or incorrect; Damaged sensor. | Clean the sensor; Recalibrate the tester; Replace the sensor if damaged. |
| Máy kiểm tra không bật nguồn. | Ắc quy hết điện; Lắp đặt ắc quy không đúng cách. | Replace batteries; Check battery polarity. |
| "CAL Er" error during calibration | Incorrect calibration solution; Contaminated solution; Sensor issue. | Ensure correct 2.77 EC solution is used; Use fresh calibration solution; Clean or replace sensor. |
8. Thông số kỹ thuật
- Số hiệu mẫu: AI103G
- Kích thước sản phẩm: 7 x 1.5 x 1.3 inch
- Cân nặng: 4.69 ounce
- Nguồn điện: 4 pin AAA (có kèm theo)
- Loại cảm biến: Replaceable Titanium EC Probe
- Thông số đo lường: EC, 500ppm, 700ppm, Temperature
- Ngày đầu tiên có sẵn: Ngày 28 tháng 2022 năm XNUMX
9. Bảo hành và Hỗ trợ
Apera Instruments products are backed by a manufacturer's warranty. For detailed warranty information, technical support, or to purchase replacement parts, please visit the official Apera Instruments webtrang web hoặc liên hệ trực tiếp với bộ phận dịch vụ khách hàng của họ. Giữ lại biên lai mua hàng để yêu cầu bảo hành.
Nhà sản xuất: nhạc cụ apera


