1. Giới thiệu
Cảm ơn bạn đã muaasing the IRRADIO VDP-4600HDW LCD/LED Projector. This manual provides essential information for the safe and efficient operation of your device. Please read it thoroughly before use and retain it for future reference.
2. Hướng dẫn an toàn
- Không được bịt kín các lỗ thông gió. Đảm bảo luồng không khí đầy đủ xung quanh máy chiếu để tránh quá nhiệt.
- Không nhìn trực tiếp vào ống kính máy chiếu khi lamp Đang bật đèn vì ánh sáng mạnh có thể gây hại cho mắt.
- Tránh để máy chiếu tiếp xúc với nước hoặc các chất lỏng khác. Không vận hành máy chiếu trong điều kiện ẩm ướt.amp hoặc điều kiện ẩm ướt.
- Chỉ sử dụng bộ đổi nguồn đi kèm với máy chiếu.
- Không nên tự ý sửa chữa máy chiếu. Hãy giao việc bảo dưỡng cho nhân viên kỹ thuật có chuyên môn.
- Đặt máy chiếu trên bề mặt ổn định, bằng phẳng để tránh máy bị rơi.
3. Nội dung gói hàng
Vui lòng kiểm tra xem tất cả các mục có trong gói hàng của bạn không:
- IRRADIO VDP-4600HDW Projector
- Điều khiển từ xa
- Cáp nguồn
- Cáp HDMI
- Cable AV
- Hướng dẫn sử dụng
4. Sản phẩm hếtview
4.1. Linh kiện máy chiếu

Hình 4.1: Tổng thể view of the IRRADIO VDP-4600HDW Projector. This image displays the projector from an angled perspective, highlighting its compact design and the lens on the front left side, with ventilation grilles and control buttons visible on the top and sides.

Hình 4.2: Đằng trước view of the projector. This image focuses on the large projection lens on the left, with the IRRADIO logo and ventilation grilles on the right side of the front panel.

Hình 4.3: Ở phía sau view of the projector. This image shows the VGA port, focus adjustment knob, and keystone correction knob on the rear panel, along with additional ventilation.
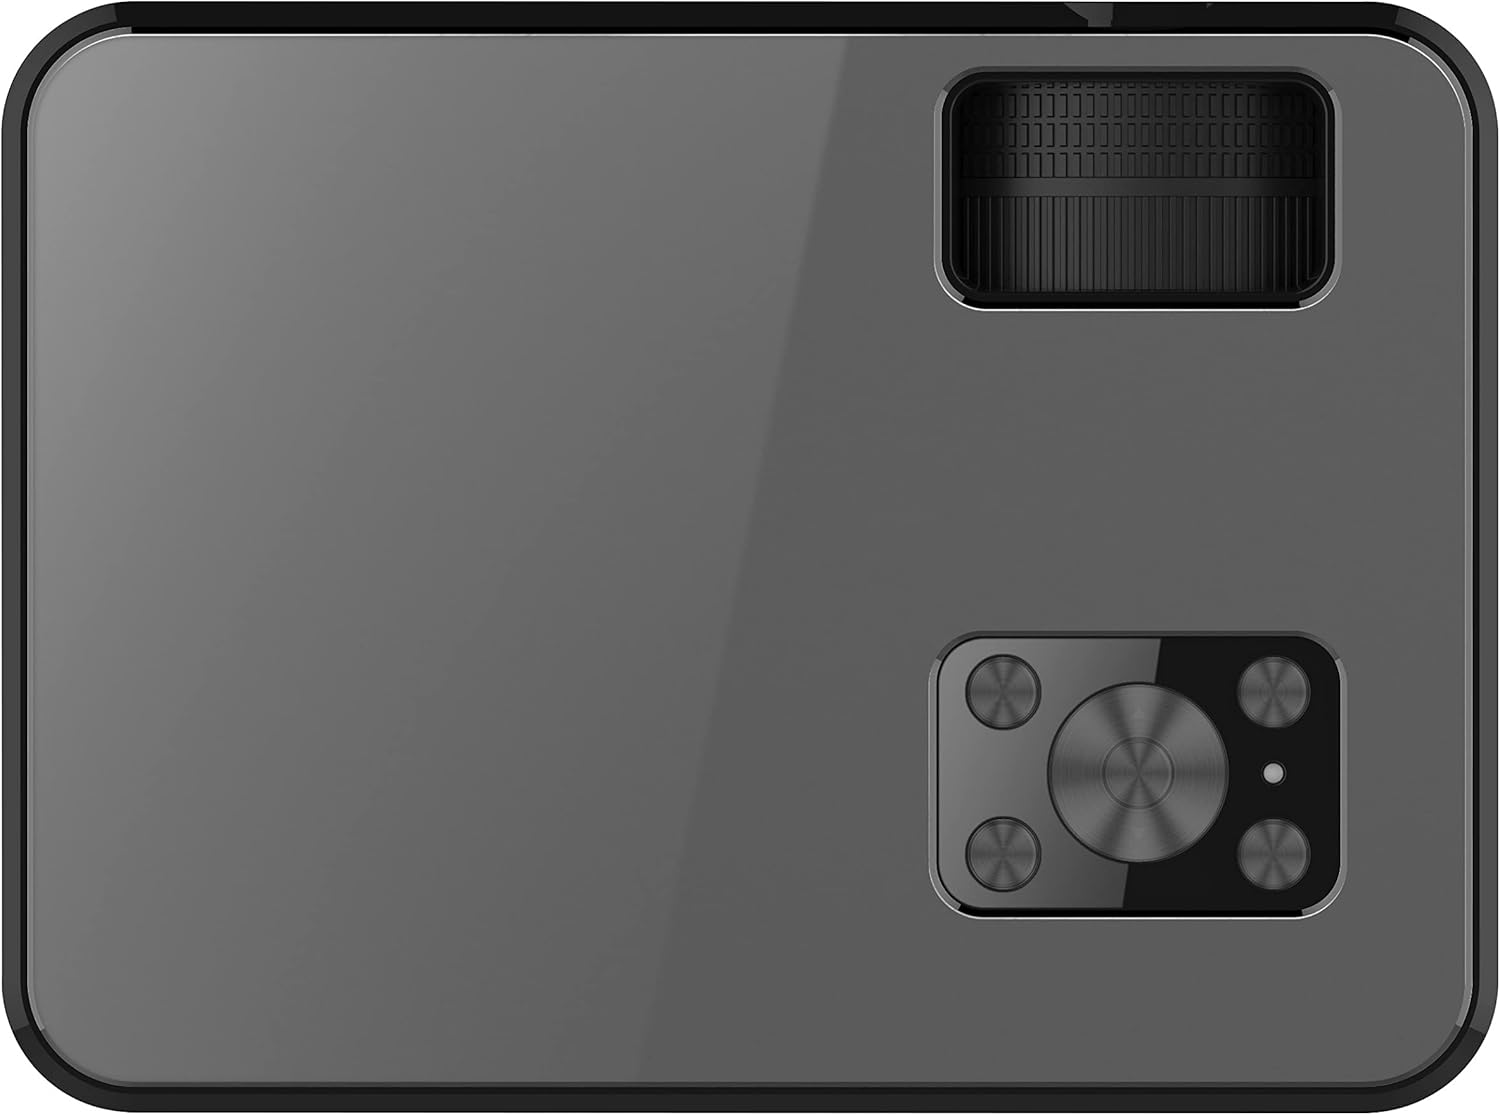
Hình 4.4: Đứng đầu view of the projector. This image displays the control panel with navigation buttons (up, down, left, right, OK), source, menu, and exit buttons, along with the power button and volume controls.

Hình 4.5: Bên view of the projector showing input/output ports. This image highlights two HDMI ports, AV input, two USB ports, and a 3.5mm headphone jack (audio out).

Hình 4.6: Phía đối diện view of the projector. This image shows the power input port and additional ventilation grilles.

Hình 4.7: Đáy view of the projector. This image displays the mounting points for ceiling installation and rubber feet for stable placement on a flat surface.
4.2. Điều khiển từ xa
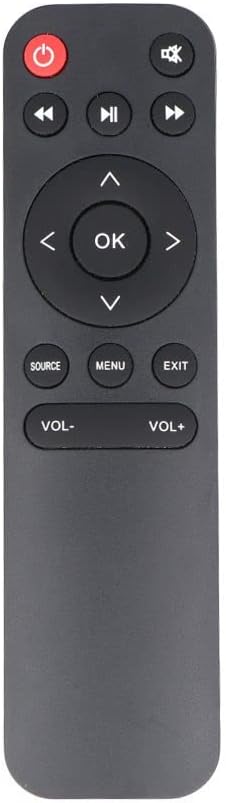
Hình 4.8: The remote control for the IRRADIO VDP-4600HDW Projector. It features buttons for power, mute, navigation (up, down, left, right, OK), source selection, menu, exit, and volume control.
4.3. Ports and Controls Overview
- Nút nguồn: Bật/tắt máy chiếu.
- Ống kính: Chiếu hình ảnh.
- Vòng lấy nét: Điều chỉnh độ rõ nét của hình ảnh.
- Sửa lỗi Keystone: Điều chỉnh độ méo hình ảnh.
- Cổng HDMI (x2): Kết nối với các thiết bị hỗ trợ HDMI (máy tính xách tay, máy chơi game, đầu phát Blu-ray).
- Cổng USB (x2): Kết nối ổ USB để phát phương tiện.
- Cổng VGA: Kết nối với máy tính có cổng xuất VGA.
- Cổng AV: Connect to older devices using composite video.
- Đầu ra âm thanh 3.5mm: Kết nối loa ngoài hoặc tai nghe.
- Bộ thu IR: Dùng cho tín hiệu điều khiển từ xa.
5. Thiết lập
XUẤT KHẨU. Vị trí
Place the projector on a stable, flat surface or mount it to the ceiling. Ensure the projector is positioned directly in front of the projection screen or wall. The optimal projection distance ranges from 1.52 meters to 3.48 meters, yielding a screen size between 50 and 120 inches.
- Chiếu phía trước: Place the projector in front of the screen.
- Chiếu hậu: Đặt máy chiếu phía sau một màn chắn mờ.
- Gắn trần: The projector can be inverted and mounted to the ceiling. Adjust settings in the OSD menu for inverted projection.
5.2. Kết nối nguồn điện
- Kết nối cáp nguồn vào cổng nguồn điện của máy chiếu.
- Plug the other end of the power cable into a standard electrical outlet (220V AC, 50Hz).
- Nhấn nút nguồn trên máy chiếu hoặc điều khiển từ xa để bật máy.
5.3. Điều chỉnh tiêu điểm và Keystone
- Bật máy chiếu và hiển thị hình ảnh.
- Xoay Vòng lấy nét (located near the lens) until the image appears sharp and clear.
- Điều chỉnh Chỉnh sửa Keystone knob (located on the rear panel) to correct any trapezoidal distortion, making the image rectangular.
6. Hoạt động
6.1. Bật/Tắt nguồn
Nhấn nút nguồn trên máy chiếu hoặc điều khiển từ xa để bật hoặc tắt thiết bị.
6.2. Lựa chọn nguồn đầu vào
Sau khi bật nguồn, nhấn nút NGUỒN button on the remote control or the projector's control panel to cycle through available input sources (HDMI1, HDMI2, USB1, USB2, VGA, AV).
6.3. Kết nối thiết bị bên ngoài
- HDMI: Connect an HDMI cable from your device (e.g., laptop, game console) to one of the projector's HDMI ports. Select the corresponding HDMI input.
- VGA: Connect a VGA cable from your computer to the projector's VGA port. Select the VGA input.
- CỦA: Use the provided AV cable to connect to devices with composite video output. Select the AV input.
- USB: Insert a USB flash drive into a USB port. The projector's media player interface will appear automatically or can be accessed via the source menu.
6.4. Phát lại đa phương tiện (USB)
The integrated media player supports various formats:
- Định dạng hình ảnh: JPEG, BMP, PNG, MPO
- Định dạng video: MPEG1, MPEG2, H.263, H.264, AVS, MJPEG, RV30, RV40, HEVC
- Định dạng âm thanh: MPEG1, MPEG2, LPCM, MP3
Điều hướng qua files using the remote control's arrow keys and press OK để lựa chọn.
6.5. Wireless Audio Connection
The projector features an integrated wireless audio function for connecting to external audio devices. Refer to the on-screen display (OSD) menu for specific pairing instructions. Typically, you will need to enable the wireless audio feature in the projector's settings and then pair it with your desired external speaker or headphone.
7. Bảo trì
7.1. Vệ sinh ống kính
Use a soft, lint-free cloth and a specialized lens cleaning solution to gently wipe the lens. Avoid abrasive materials or excessive pressure.
7.2. Vệ sinh bộ lọc bụi
Regularly check and clean the dust filters to ensure optimal airflow and prevent overheating. Use a soft brush or a vacuum cleaner with a brush attachment to remove dust from the ventilation grilles.
7.3. Lưu trữ
When not in use for extended periods, store the projector in a cool, dry place, protected from dust and direct sunlight. Use the original packaging or a protective case.
KHAI THÁC. Xử lý sự cố
- Không có điện: Hãy đảm bảo dây nguồn được kết nối chắc chắn và ổ cắm điện hoạt động bình thường.
- Không có hình ảnh: Check the input source selection. Ensure the connected device is powered on and sending a signal. Verify cable connections.
- Hình ảnh mờ: Adjust the focus ring. Ensure the projection distance is within the optimal range.
- Hình ảnh bị biến dạng: Điều chỉnh hiệu chỉnh keystone.
- Không có âm thanh: Check the volume settings on both the projector and the connected device. If using external speakers, ensure they are properly connected or paired via wireless audio.
- Điều khiển từ xa không hoạt động: Replace the batteries. Ensure there are no obstructions between the remote and the projector's IR receiver.
9. Thông số kỹ thuật
| Tính năng | Đặc điểm kỹ thuật |
|---|---|
| Hệ thống chiếu | LCD panel with LED light source |
| Độ phân giải gốc | 1920x1080 (Full HD 1080p) |
| Tỷ lệ tương phản động | 2000:1 |
| Light Source Brightness | 3000 Lumen |
| ĐÈN LED Lamp Mạng sống | 50,000 giờ |
| Ống kính | Lấy nét thủ công |
| Chức năng âm thanh không dây | Tích hợp |
| Kết nối | 2x HDMI, 2x USB, VGA, AV Composite, 3.5mm Headphone Jack (output) |
| Tỷ lệ khung hình | 16:9 Native / 4:3 Compatible |
| Kích thước chiếu tối ưu | 50" - 120" |
| Khoảng cách chiếu tối ưu | 1.52m đến 3.48m |
| Chế độ chiếu | Front, Rear, Ceiling (Front/Rear) |
| Âm thanh | 1x 3W Hi-Fi Speaker |
| Hệ thống làm mát | Hệ thống làm mát kép |
| Ngôn ngữ OSD | 23 ngôn ngữ |
| Nguồn điện | 220V AC 50Hz (single phase) |
| Cân nặng | 1.4kg |
| Kích thước (Rộng x Cao x Sâu) | 222 x 91 x 173mm |
10. Bảo hành và Hỗ trợ
Information regarding specific warranty terms and support contacts is not available in the provided product data. Please refer to the product packaging or the retailer's webtrang web để biết chi tiết bảo hành và thông tin hỗ trợ khách hàng.


