1. Giới thiệu
This manual provides essential information for the proper installation, configuration, and operation of your Hikvision Turbo HD DVR 8-Channel, model DS-7108HGHI-K1(S). Please read this manual thoroughly before using the device to ensure safe and efficient operation. Keep this manual for future reference.
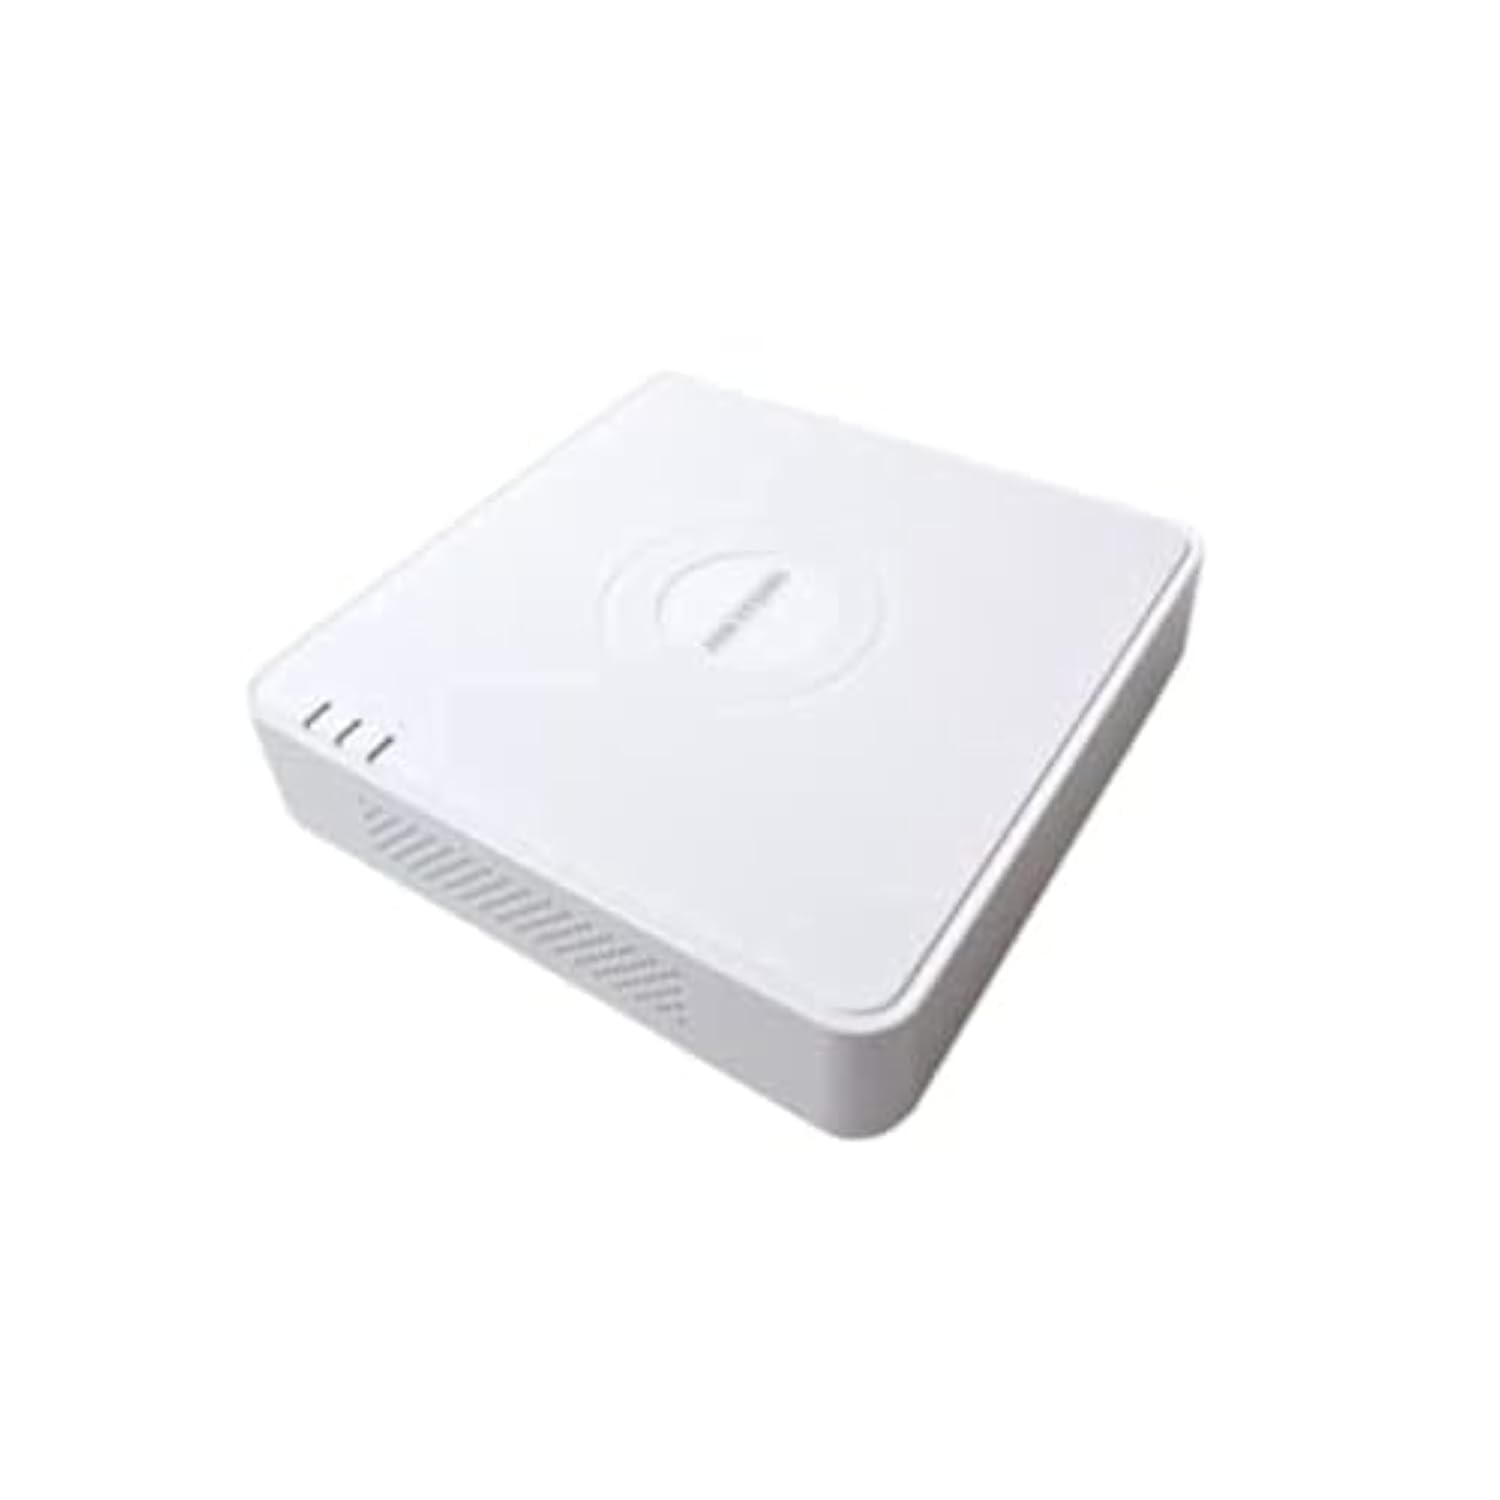
This image shows the Hikvision Turbo HD DVR unit from a front-side perspective, highlighting its compact design, ventilation grilles, and status indicator lights.
2. Tính năng sản phẩm
- High-definition 8-channel Turbo HD DVR
- Supports audio transmission over coaxial cable
- Equipped with one SATA interface for storage
- Nhựa bền casing for protection
- Video encoding capabilities up to 1080p Lite at 15 frames per second
- Advanced video compression: H.265 Pro+/H.265 Pro/H.265
3. Hướng dẫn cài đặt
3.1 Tháo dỡ và kiểm tra
Carefully unpack the DVR and all accessories. Verify that all components are present and undamaged. If any items are missing or damaged, contact your supplier immediately.
3.2 Kết nối đầu ghi DVR
- Kết nối ổ cứng (nếu chưa được cài đặt sẵn): Mở DVR casing, connect the SATA data and power cables to the hard drive, and secure the drive.
- Kết nối máy ảnh: Connect your Turbo HD cameras to the BNC video input ports on the rear panel.
- Kết nối màn hình: Sử dụng cáp HDMI hoặc VGA để kết nối màn hình với cổng đầu ra tương ứng trên đầu ghi DVR.
- Kết nối chuột: Cắm chuột USB vào cổng USB trên đầu ghi DVR.
- Kết nối mạng: Kết nối cáp Ethernet từ bộ định tuyến/bộ chuyển mạch của bạn đến cổng LAN trên đầu ghi DVR để truy cập mạng và điều khiển từ xa. viewđang.
- Kết nối nguồn: Connect the power adapter to the DVR's power input and then to a power outlet. The DVR will power on automatically.
3.3 Cấu hình ban đầu
Upon first power-on, the DVR will guide you through an initial setup wizard. This includes setting up a strong password, configuring network settings, and initializing the hard drive. Follow the on-screen prompts to complete the setup.
4. Hướng dẫn vận hành
4.1 Trực tiếp View
Sau khi thiết lập ban đầu, DVR sẽ hiển thị trực tiếp view Từ tất cả các camera được kết nối trên màn hình. Bạn có thể chuyển đổi giữa chế độ xem từng camera riêng lẻ. view và lưới nhiều camera view sử dụng các nút điều khiển trên màn hình hoặc chuột.
4.2 Ghi âm
The DVR is typically configured for continuous recording by default. You can access the recording schedule settings via the main menu to customize recording modes (e.g., motion detection, scheduled recording) for each channel.
4.3 Phát lại
Để lạiview ghi lại thức ăntage, navigate to the Playback menu. Select the desired camera(s) and time range. You can use the timeline and playback controls to fast forward, rewind, or pause the video.
4.4 Truy cập từ xa
Đối với điều khiển từ xa viewing on a mobile device or computer, ensure the DVR is connected to the internet. Download the official Hik-Connect app (or client software) and follow the instructions to add your DVR using its serial number or QR code. This allows you to view Xem trực tiếp và phát lại các bản ghi từ bất cứ đâu có kết nối internet.
5. Bảo trì
5.1 Vệ sinh Thường xuyên
Keep the DVR clean by wiping its exterior with a soft, dry cloth. Ensure ventilation openings are free from dust and obstructions to prevent overheating.
5.2 cập nhật chương trình cơ sở
Thường xuyên kiểm tra trang web chính thức của Hikvision. webTrang web này cung cấp thông tin cập nhật phần mềm. Việc cập nhật phần mềm cho đầu ghi DVR của bạn đảm bảo hiệu suất tối ưu, bảo mật và quyền truy cập vào các tính năng mới. Hãy làm theo hướng dẫn được cung cấp một cách cẩn thận khi thực hiện cập nhật.
5.3 Sao lưu dữ liệu
Thường xuyên sao lưu các video quan trọng.tage to an external USB drive or network storage. This helps prevent data loss in case of hard drive failure or other unforeseen issues.
KHAI THÁC. Xử lý sự cố
6.1 Không có đầu ra video
- Check all video cable connections (BNC, HDMI, VGA) to ensure they are secure.
- Hãy kiểm tra xem màn hình đã được bật nguồn và thiết lập đúng nguồn đầu vào chưa.
- Ensure cameras are powered and functioning correctly.
6.2 Sự cố kết nối mạng
- Confirm the Ethernet cable is properly connected to both the DVR and the router/switch.
- Check network settings in the DVR menu (IP address, gateway, DNS). Ensure they are correct for your network.
- Restart your router/switch and the DVR.
6.3 Các vấn đề về ghi âm
- Verify that a hard drive is installed and properly initialized.
- Check the recording schedule and settings for the affected channels.
- Ensure there is sufficient free space on the hard drive.
7. Thông số kỹ thuật
| Tính năng | Chi tiết |
|---|---|
| Nhà sản xuất | Hikvision |
| Số hiệu mẫu | DS-7108HGHI-K1(S) |
| Kích thước sản phẩm (W x D x H) | 10 x 10 x 3 cm (approximate, based on video) |
| Trọng lượng sản phẩm | 1000 gram (1 kg) |
| Công nghệ kết nối | Mạng Ethernet |
| Thiết bị tương thích | Máy ảnh |
| Dung lượng lưu trữ bộ nhớ | 4 Terabytes (HDD not included) |
| Kích thước ổ cứng | 4 Terabytes (Maximum supported) |
| Tiêu thụ điện năng | 17 Watt |
| Số lượng kênh | 8 |
| Định dạng phương tiện video kỹ thuật số | MP4 |
8. Bảo hành và Hỗ trợ
For specific warranty terms and conditions, please refer to the documentation provided with your purchase or contact Hikvision directly. Technical support may be available through the Hikvision official website or your authorized dealer.


