1. Giới thiệu
Thank you for choosing the InFocus P120 INL412 Multimedia Projector. This manual provides essential information for the safe and efficient operation of your projector. Please read it thoroughly before using the device and retain it for future reference. The InFocus P120 INL412 is designed for versatile multimedia presentations, offering clear and vibrant images for various applications.
2. Thông tin an toàn
To ensure safe operation and prevent damage to the projector, please observe the following safety precautions:
- Không được bịt kín các lỗ thông gió. Đảm bảo có đủ không gian xung quanh máy chiếu để luồng không khí lưu thông tốt, tránh hiện tượng quá nhiệt.
- Tránh nhìn thẳng vào ống kính máy chiếu khiamp Đang bật đèn vì ánh sáng mạnh có thể gây hại cho mắt.
- Do not place the projector on an unstable cart, stand, or table. The projector may fall, causing serious injury to a child or adult, and serious damage to the unit.
- Nếu không sử dụng máy chiếu trong thời gian dài, hãy rút dây nguồn khỏi ổ cắm điện.
- Hãy giao việc bảo dưỡng cho nhân viên kỹ thuật có trình độ chuyên môn. Không tự ý mở hoặc sửa chữa máy chiếu.
- Keep the projector away from water or moisture. Do not expose it to rain or immerse it in liquid.
- Use only the power cord supplied with the projector or an authorized replacement.
3. Nội dung gói hàng
Verify that all items listed below are included in your projector package:
- InFocus P120 INL412 Multimedia Projector
- Dây nguồn
- Điều khiển từ xa có pin
- Cáp VGA
- Hướng dẫn sử dụng (tài liệu này)
- Hướng dẫn bắt đầu nhanh
4. Sản phẩm hếtview
Familiarize yourself with the main components of your InFocus P120 INL412 projector.
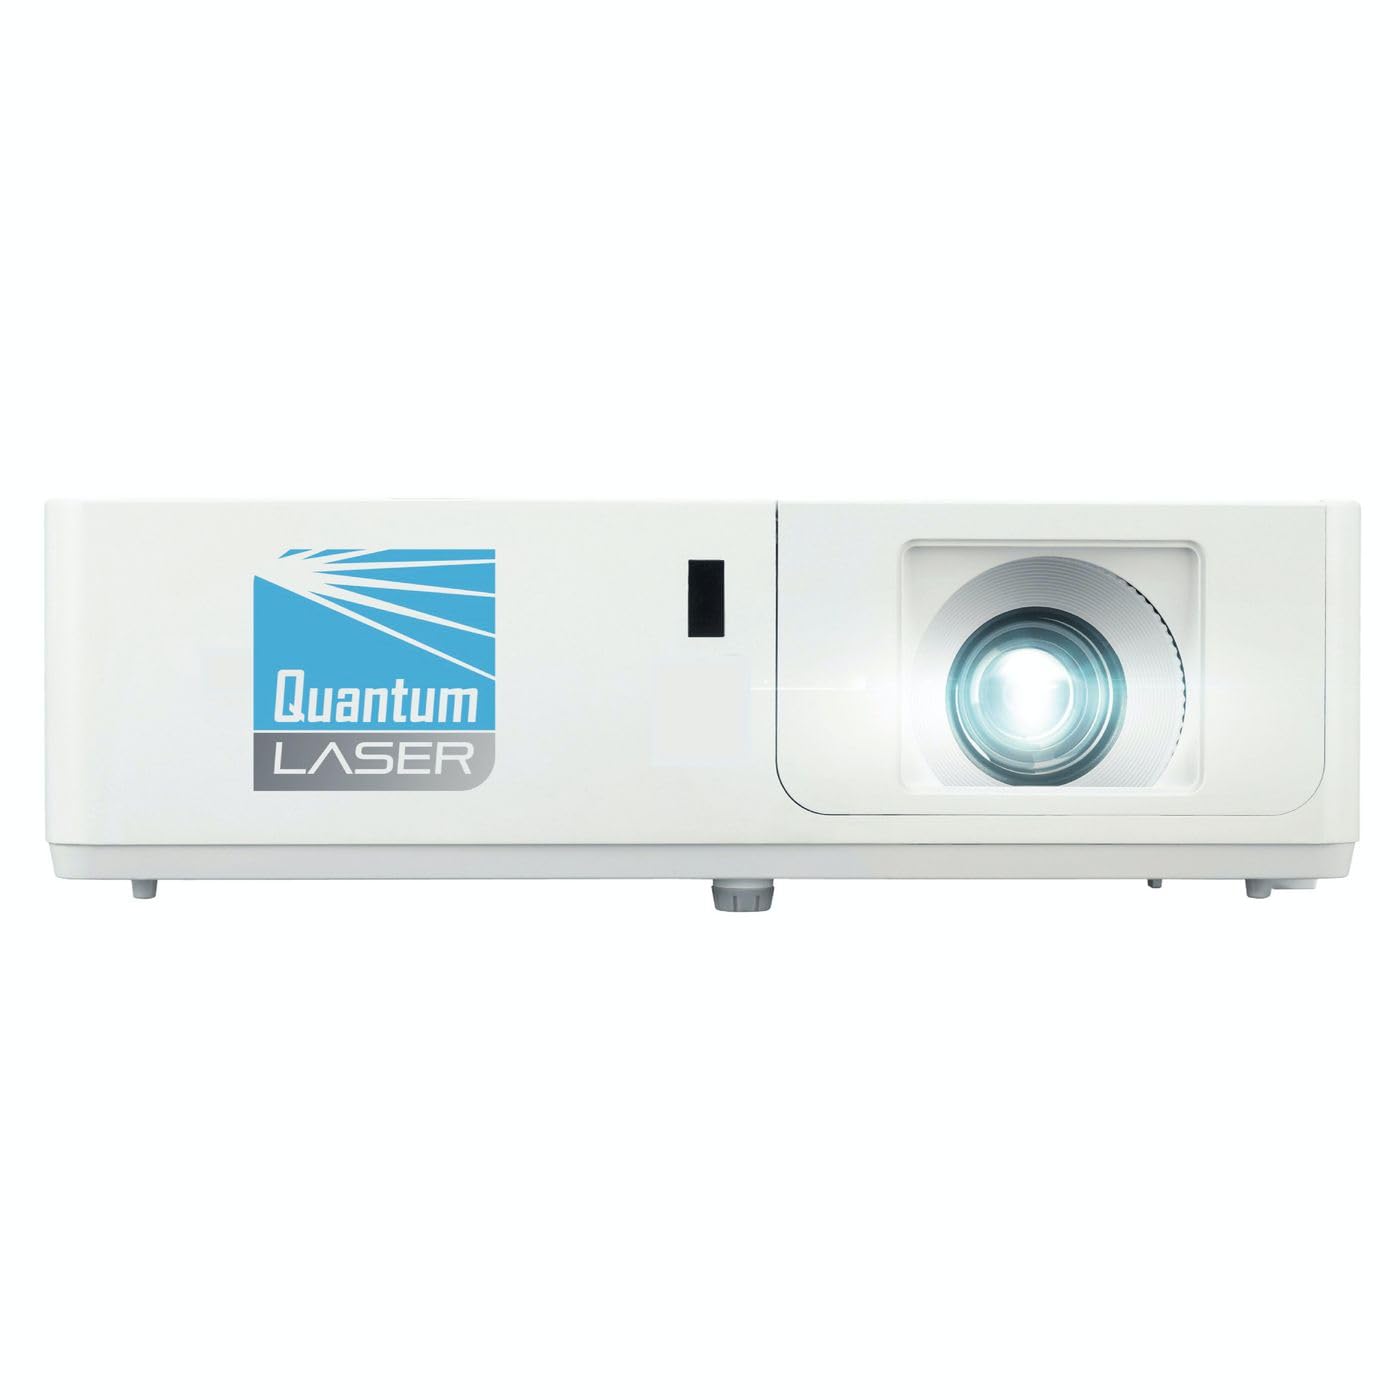
Hình ảnh 1: Mặt trước view of the InFocus P120 INL412 Multimedia Projector, showing the lens and ventilation grilles.
4.1 Bảng điều khiển phía trước
- Ống kính chiếu: Phát hình ảnh lên màn hình.
- Vòng lấy nét: Điều chỉnh độ rõ nét của hình ảnh được chiếu.
- Vòng thu phóng: Điều chỉnh kích thước của hình ảnh được chiếu.
- Bộ thu IR: Nhận tín hiệu từ điều khiển từ xa.
4.2 Bảng điều khiển trên cùng
- Bảng điều khiển: Buttons for power, menu navigation, source selection, and keystone correction.
- Đèn báo: Display the projector's status (e.g., power, lamp, temperature).
4.3 Rear Panel (Connectivity)
- Đầu vào HDMI: Connects to HDMI-enabled devices (laptops, Blu-ray players).
- Đầu vào VGA: Kết nối với máy tính có đầu ra VGA.
- Cổng USB: For service or connecting USB devices (if supported by model).
- Âm thanh vào/ra: Dùng để kết nối các nguồn âm thanh hoặc loa ngoài.
- Đầu vào điện: Kết nối dây nguồn.
5. Thiết lập
Thực hiện theo các bước sau để thiết lập ban đầu cho máy chiếu của bạn:
- Vị trí: Place the projector on a stable, flat surface or mount it securely. Ensure the projector is positioned at an appropriate distance from the screen to achieve the desired image size.
- Kết nối nguồn điện: Kết nối dây nguồn vào ổ cắm điện của máy chiếu rồi kết nối vào ổ cắm điện có nối đất.
- Kết nối thiết bị nguồn: Connect your source device (e.g., laptop, DVD player) to the projector using an appropriate cable (HDMI, VGA, etc.). Ensure the cable is securely connected to both the source and the projector.
- Bật nguồn: Press the power button on the projector's control panel or the remote control to turn on the projector. The power indicator light will illuminate.
- Điều chỉnh tiêu cự và độ phóng đại: Once an image is projected, rotate the focus ring on the lens until the image is sharp and clear. Use the zoom ring to adjust the image size to fit your screen.
- Sửa lỗi Keystone: If the image appears trapezoidal, use the keystone correction function (either via buttons on the projector/remote or through the on-screen menu) to square the image.
6. Hướng dẫn vận hành
6.1 Bật/Tắt nguồn
- Để bật nguồn: Press the power button once. The projector will go through a warm-up sequence.
- Để Tắt Nguồn: Press the power button twice. The first press will prompt a shutdown confirmation; the second press will initiate shutdown. Allow the projector to cool down completely before unplugging.
6.2 Lựa chọn nguồn
Press the 'Source' button on the projector or remote control to cycle through available input sources (HDMI, VGA, etc.) until your desired source is displayed.
6.3 Điều hướng menu
Press the 'Menu' button to access the on-screen display (OSD) menu. Use the arrow buttons to navigate through options and 'Enter' or 'OK' to select. Use the 'Exit' or 'Menu' button to close the OSD.
- Cài đặt hình ảnh: Điều chỉnh độ sáng, độ tương phản, màu sắc, tỷ lệ khung hình và chế độ hình ảnh.
- Cài đặt hiển thị: Configure keystone, projection mode (front/rear, desktop/ceiling), and resolution.
- Cài đặt âm thanh: Control volume and audio output options.
- Cài đặt hệ thống: Manage language, timer, power-saving modes, and factory reset.
7. Bảo trì
Bảo trì thường xuyên đảm bảo hiệu suất tối ưu và kéo dài tuổi thọ cho máy chiếu của bạn.
- Vệ sinh ống kính: Lau nhẹ ống kính máy chiếu bằng vải mềm, không xơ được thiết kế chuyên dụng cho bề mặt quang học. Không sử dụng chất tẩy rửa có tính mài mòn hoặc lực quá mạnh.
- Vệ sinh tủ: Use a soft, dry cloth to clean the projector's exterior. For stubborn marks, dampen the cloth slightly with water. Avoid using harsh chemicals.
- Vệ sinh/Thay thế bộ lọc khí: Check the air filter periodically. If your model has a removable filter, clean it with a soft brush or vacuum cleaner. Replace the filter as recommended in the on-screen menu or when visibly dirty to maintain proper ventilation.
- Lamp Thay thế: Máy chiếu lamp có tuổi thọ hữu hạn. Khi lamp life indicator appears, or the image brightness significantly decreases, replace the lamp according to the instructions provided in the full service manual or by a qualified technician. Always allow the projector to cool down completely before attempting lamp thay thế.
KHAI THÁC. Xử lý sự cố
Tham khảo bảng dưới đây để biết các vấn đề thường gặp và giải pháp:
| Vấn đề | Nguyên nhân có thể | Giải pháp |
|---|---|---|
| Không có hình ảnh nào được hiển thị | Power cord disconnected, incorrect input source, source device off. | Check power connections. Select correct input source. Ensure source device is powered on. |
| Hình ảnh bị mờ | Lens out of focus, incorrect projection distance. | Adjust the focus ring on the lens. Reposition the projector closer or further from the screen. |
| Hình ảnh là hình thang | Máy chiếu không vuông góc với màn hình. | Use keystone correction (manual or automatic) to square the image. |
| Máy chiếu quá nóng và tắt | Thông gió bị tắc, bộ lọc không khí bẩn. | Ensure clear space around vents. Clean or replace the air filter. |
| Điều khiển từ xa không hoạt động | Dead batteries, obstruction between remote and projector, incorrect angle. | Replace batteries. Ensure clear line of sight to IR receiver. Point remote directly at the projector. |
9. Thông số kỹ thuật
Key technical specifications for the InFocus P120 INL412 Multimedia Projector:
| Tính năng | Đặc điểm kỹ thuật |
|---|---|
| Số hiệu mẫu | P120 INL412 (Item model number: 7296144) |
| Kiểu hiển thị | DLP |
| Độ phân giải gốc | 1280 x800 |
| Độ phân giải hiển thị tối đa | 1280 x800 |
| Công nghệ kết nối | USB (and other standard inputs like HDMI, VGA) |
| Kích thước sản phẩm | 5.25 x 0.31 x 1.66 inch |
| Trọng lượng sản phẩm | 6.6 pound |
| Nhà sản xuất | Trong tầm ngắm |
10. Bảo hành và Hỗ trợ
The InFocus P120 INL412 Multimedia Projector comes with a standard manufacturer's warranty. Please refer to the warranty card included in your package for specific terms and conditions, including warranty duration and coverage details. For technical support, service, or further inquiries, please visit the official InFocus support webtrang web hoặc liên hệ với bộ phận dịch vụ khách hàng của họ.
Để có thông tin hỗ trợ cập nhật nhất, vui lòng truy cập: www.infocus.com/support


