1. Giới thiệu
This manual provides detailed instructions for the installation, operation, and maintenance of your CP Plus CP-UVR-0401E1-S 4 Channel Digital Video Recorder (DVR). This device is designed for surveillance applications, allowing you to record and manage video footage from up to four cameras. Please read this manual thoroughly before using the product to ensure proper and safe operation.
2. Thông tin an toàn
- Nguồn điện: Use only the specified power adapter. Incorrect voltagcó thể làm hỏng thiết bị và làm mất hiệu lực bảo hành.
- Thông gió: Ensure adequate ventilation around the DVR. Do not block ventilation openings.
- Môi trường: Avoid exposing the DVR to extreme temperatures, humidity, dust, or direct sunlight.
- Xử lý: Handle the device with care. Avoid dropping or subjecting it to strong vibrations.
- Bảo dưỡng: Do not attempt to open or service the DVR yourself. Refer all servicing to qualified personnel.
3. Nội dung gói hàng
Xác minh rằng tất cả các mục đều có trong gói hàng:
- CP Plus CP-UVR-0401E1-S 4 Channel DVR Unit
- Bộ đổi nguồn
- Chuột USB
- Screws for Hard Disk Drive (HDD) Installation
- Hướng dẫn bắt đầu nhanh
4. Thiết lập
4.1. Hard Disk Drive (HDD) Installation
The CP-UVR-0401E1-S DVR is supplied without a pre-installed hard disk drive. An HDD is required for recording video footage.
- Unscrew and remove the top cover of the DVR unit.
- Connect the SATA data cable and power cable from the DVR to the corresponding ports on your 3.5-inch SATA HDD.
- Secure the HDD to the bottom of the DVR chassis using the provided screws.
- Lắp lại nắp trên và cố định bằng ốc vít.
4.2. Kết nối máy ảnh
Connect your analog surveillance cameras to the BNC video input ports on the rear panel of the DVR. The DVR supports up to 4 cameras.
4.3. Kết nối màn hình
Connect a monitor to the DVR using either the VGA or HDMI output port on the rear panel. This allows you to view xem nguồn cấp dữ liệu trực tiếp và cấu hình cài đặt.
4.4. Kết nối mạng
Đối với điều khiển từ xa viewing and network features, connect an Ethernet cable from your router or network switch to the LAN port on the DVR's rear panel.
4.5. Kết nối nguồn điện
Connect the provided power adapter to the DC 12V input port on the DVR, then plug the adapter into a power outlet. The DVR will power on automatically.
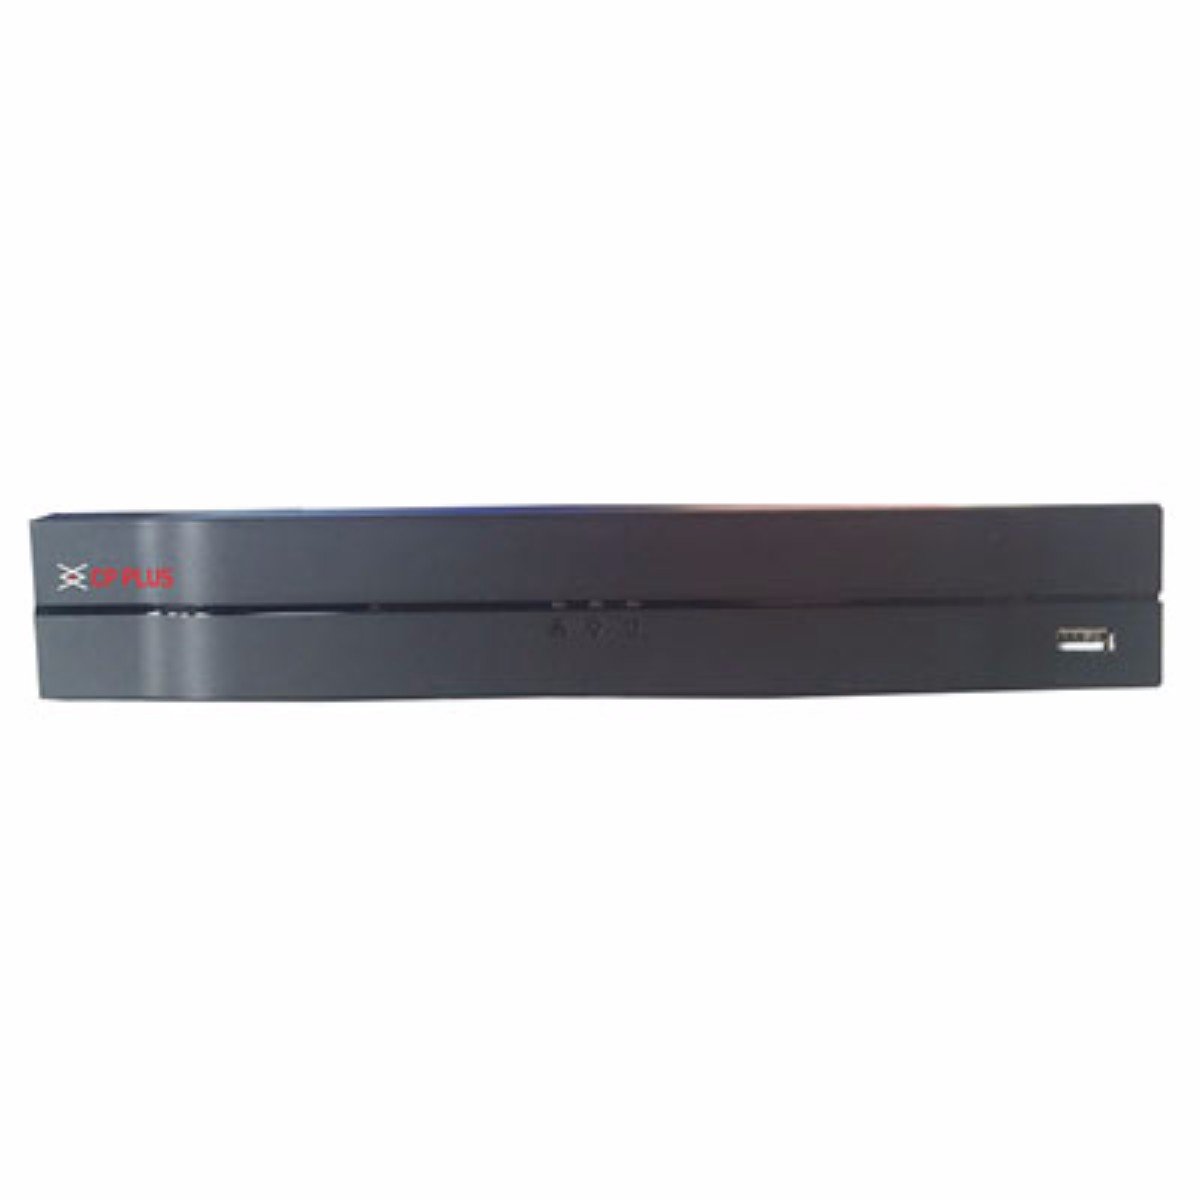
Hình ảnh: Mặt trước view of the CP Plus CP-UVR-0401E1-S 4 Channel DVR unit, showing its compact black design and front panel indicators.
5. Hoạt động
5.1. Initial Boot and Setup Wizard
Upon first power-on, the DVR will guide you through an initial setup wizard. This typically includes setting the date/time, network configuration, and creating an administrator password. Follow the on-screen prompts.
5.2. Điều hướng giao diện người dùng
Use the included USB mouse to navigate the DVR's graphical user interface (GUI). Right-click to access the main menu, and left-click to select options.
5.3. Sống View
Sau khi thiết lập xong, đầu ghi DVR sẽ hiển thị hình ảnh trực tiếp. view từ các camera được kết nối. Bạn có thể chuyển đổi giữa các camera đơn view và lưới nhiều camera views.
5.4. Cấu hình ghi âm
Access the 'Record' settings from the main menu to configure recording schedules, motion detection, and other recording parameters for each camera. Ensure your HDD is formatted and recognized by the system.
5.5. Phát lại
Để lạiview ghi lại thức ăntage, select 'Playback' from the main menu. You can search for recordings by date, time, and camera channel. Use the playback controls to fast forward, rewind, and pause.
5.6. Network Access / Remote Viewđang
Configure network settings (IP address, port forwarding, or P2P cloud service) to enable remote access to your DVR via a web browser or mobile application. Refer to the DVR's network settings menu for specific options.
6. Bảo trì
6.1. Vệ sinh thường xuyên
Periodically clean the exterior of the DVR with a soft, dry cloth. Ensure ventilation openings are free from dust and debris to prevent overheating.
6.2. HDD Management
Regularly check the status of your Hard Disk Drive (HDD) through the DVR's system settings. Ensure there is sufficient storage space and that the HDD is functioning correctly. The DVR may automatically overwrite older footage when the disk is full, depending on your settings.
6.3. Cập nhật chương trình cơ sở
Kiểm tra thông tin chính thức của nhà sản xuất. website for available firmware updates. Firmware updates can improve performance, add new features, or fix bugs. Follow the provided instructions carefully when performing an update.
KHAI THÁC. Xử lý sự cố
7.1. Không có điện
- Hãy đảm bảo bộ chuyển đổi nguồn được kết nối chắc chắn với đầu ghi DVR và ổ cắm điện hoạt động tốt.
- Kiểm tra ổ cắm điện có hoạt động không bằng cách cắm thiết bị khác.
7.2. No Video Signal on Monitor
- Check the VGA or HDMI cable connection between the DVR and the monitor.
- Đảm bảo màn hình được bật và được cài đặt ở đúng nguồn đầu vào.
- Verify that cameras are properly connected and powered.
7.3. Các vấn đề liên quan đến ghi âm
- Confirm that an HDD is installed and properly formatted within the DVR's settings.
- Check the recording schedule and ensure it is enabled for the desired channels.
- Verify that the HDD has sufficient free space.
7.4. Sự cố kết nối mạng
- Ensure the Ethernet cable is securely connected to the DVR and your router/switch.
- Check the network settings in the DVR to confirm correct IP address configuration (DHCP or static IP).
- Verify your router is functioning correctly and providing network access.
8. Thông số kỹ thuật
| Tính năng | Đặc điểm kỹ thuật |
|---|---|
| Số hiệu mẫu | CP-UVR-0401E1-S |
| Số lượng kênh | 4 |
| Công nghệ kết nối | USB-Ethernet |
| Tổng số cổng USB | 4 |
| Định dạng phương tiện Video kỹ thuật số | HDD (Hard Disk Drive, not included) |
| Kích thước gói hàng | 33.6 x 30.6 x 8.6cm |
| Trọng lượng sản phẩm | 1.44kg |
| Pin cần thiết | KHÔNG |
9. Thông tin bảo hành
This product is covered by a manufacturer's warranty. For specific warranty terms, conditions, and duration, please refer to the warranty card included with your product or visit the official CP Plus webtrang web. Giữ lại biên lai mua hàng làm bằng chứng mua hàng khi yêu cầu bảo hành.
10. Hỗ trợ
For technical assistance, troubleshooting beyond this manual, or service inquiries, please contact CP Plus customer support. Contact details can typically be found on the manufacturer's webtrang web hoặc trong bao bì sản phẩm.


