1. Sản phẩm hếtview
The Lutron Maestro MS-OPS6M2N-DV-WH is an advanced occupancy/vacancy sensor switch designed to automatically control lighting in a room. This device utilizes passive infrared (PIR) technology to detect human motion and presence, ensuring lights are only on when needed. It combines the functionality of a standard light switch with an integrated motion sensor, offering convenience and energy savings.
Các tính năng chính:
- Passive infrared motion detection with Lutron XCT technology for fine motion sensing.
- 180-degree sensor field-of-view for comprehensive room coverage.
- Requires a neutral wire for installation.
- Occupancy version supports both auto-on/auto-off and manual-on/auto-off modes.
- Vacancy version is available to comply with CA Title 24 requirements.
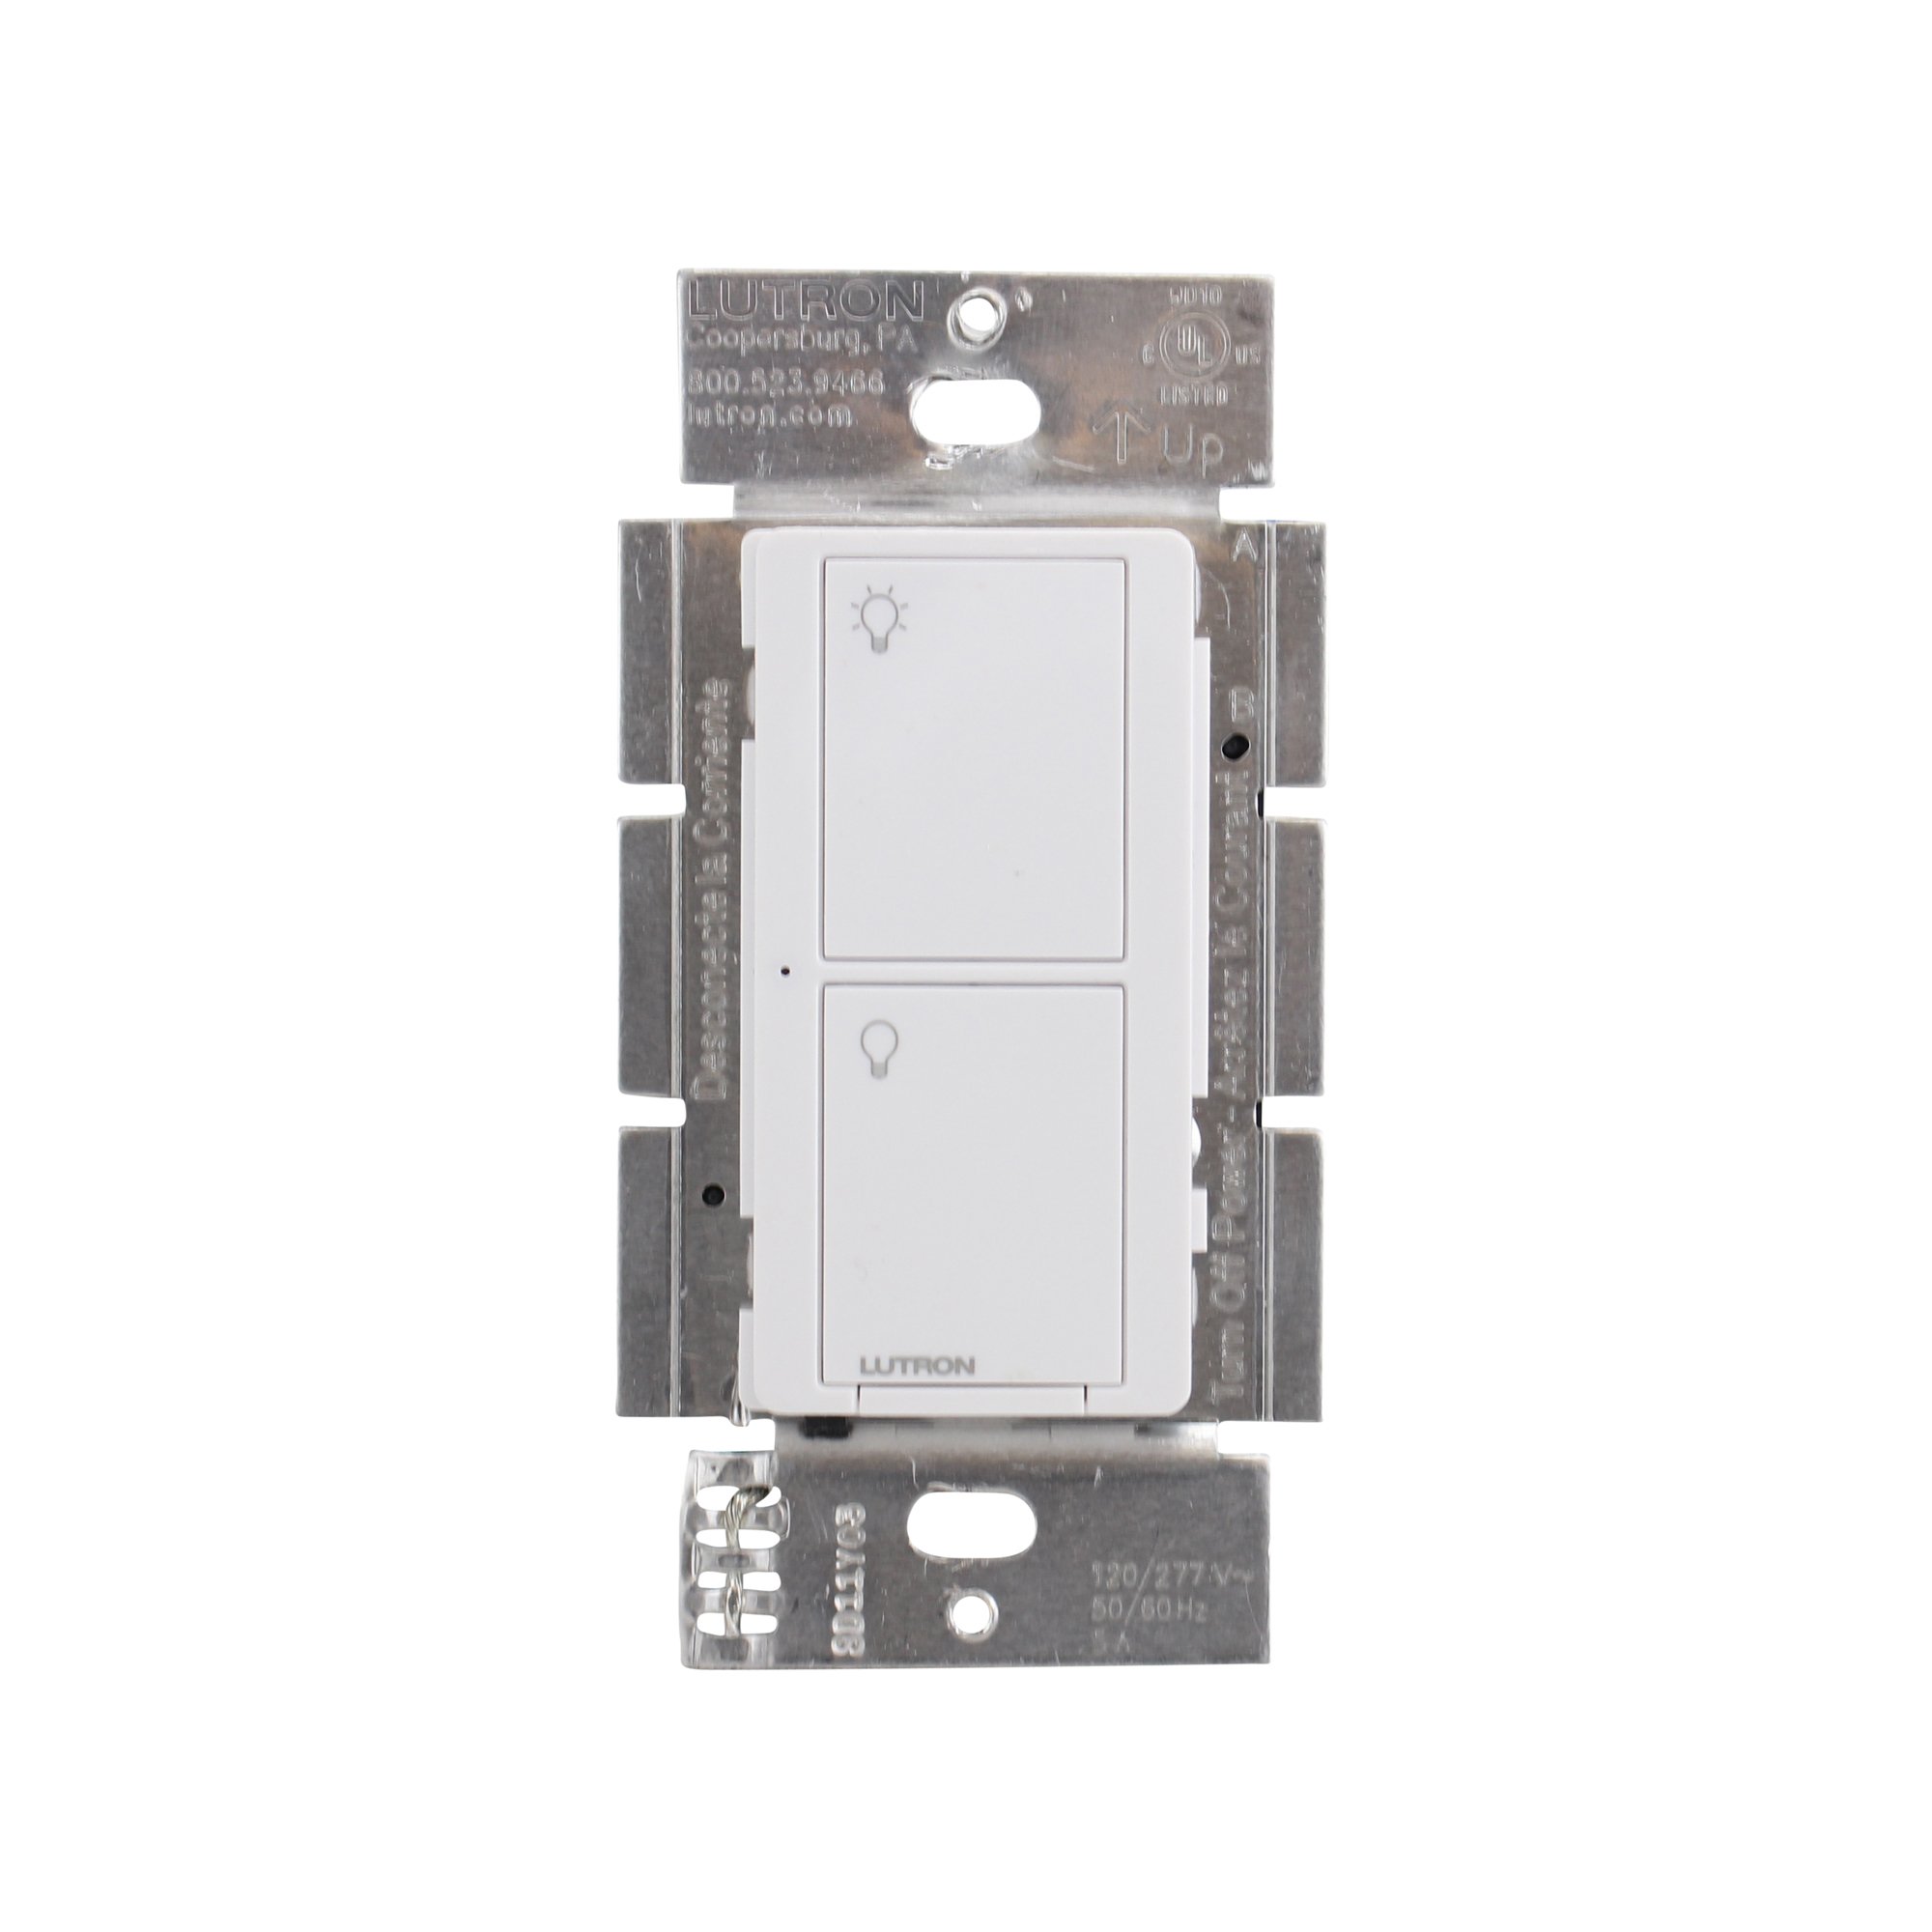
Hình 1: Mặt trước view of the Lutron Maestro MS-OPS6M2N-DV-WH sensor switch.
2. Thiết lập và Cài đặt
Thông tin an toàn quan trọng: Before beginning installation, turn off power at the circuit breaker or fuse box. Incorrect installation can lead to electrical shock or fire. If you are unsure about any part of these instructions, consult a qualified electrician.
Công cụ cần thiết: Screwdriver (Phillips and flathead), wire strippers, electrical tape.
2.1 Hướng dẫn đấu dây
- Tắt nguồn: Tìm cầu dao điều khiển công tắc bạn đang thay thế và tắt nó đi. Kiểm tra xem nguồn điện đã tắt chưa bằng cách sử dụng đồng hồ đo điện áp.tage thử nghiệm.
- Xóa công tắc hiện có: Cẩn thận tháo tấm ốp tường và vặn công tắc cũ ra khỏi hộp điện. Ngắt kết nối dây điện của công tắc cũ.
- Xác định dây:
- Dây nóng (dây nguồn): Dây này thường có màu đen, dẫn điện từ cầu dao.
- Dây tải: Typically black, connects to the light fixture.
- Dây trung tính: Typically white, required for this switch.
- Dây nối đất: Thông thường là màu đồng hoặc xanh lá cây.
Note: If you are replacing a 3-way switch, you will also have traveler wires. This model supports 3-way circuits. Refer to the detailed wiring diagram for 3-way installations.
- Connect Wires to Maestro Switch:
- Kết nối dây nối đất from the wall box to the green ground wire on the Maestro switch.
- Kết nối dây trung tính from the wall box to the white neutral wire on the Maestro switch.
- Kết nối hot (line) wire Và dây tải from the wall box to the two black wires on the Maestro switch. If the light does not function correctly, swap these two black wires.
- For 3-way applications, connect the traveler wires as per the specific 3-way wiring diagram provided with the product packaging.
- Công tắc an toàn: Carefully push the wired switch into the wall box, ensuring wires are not pinched. Screw the switch into place.
- Lắp đặt tấm tường: Attach the decorative wall plate.
- Khôi phục điện: Bật lại nguồn điện tại cầu dao.

Hình 2: Ví dụample wiring diagram for a single-pole installation. Consult the included manual for 3-way wiring.
3. Hướng dẫn vận hành
The Maestro sensor switch offers flexible operation modes to suit various needs.
3.1 Chế độ hoạt động
- Occupancy Mode (Auto-On/Auto-Off): In this mode, the lights automatically turn ON when motion is detected and automatically turn OFF after a set time delay when no motion is detected. This is ideal for high-traffic areas where hands-free operation is desired.
- Vacancy Mode (Manual-On/Auto-Off): In this mode, the lights must be manually turned ON by pressing the switch button. They will then automatically turn OFF after a set time delay when no motion is detected. This mode is often used to meet energy codes and provides more control over when lights are initially activated.
3.2 Điều chỉnh cài đặt
The Maestro sensor switch typically has small buttons or dip switches behind the wall plate for adjusting settings such as:
- Thời gian trễ: How long the lights remain on after the last detected motion (e.g., 1, 5, 15, 30 minutes).
- Độ nhạy: The level of motion required to trigger the sensor.
- Chế độ hoạt động: Switching between Occupancy (Auto-On) and Vacancy (Manual-On) modes.
Refer to the detailed instructions included with your product for specific steps on how to access and adjust these settings.
4. Bảo trì
The Lutron Maestro sensor switch requires minimal maintenance to ensure optimal performance.
- Vệ sinh: Để làm sạch bề mặt công tắc, hãy sử dụng một vật mềm,amp Lau sạch bằng vải. Không sử dụng chất tẩy rửa có tính mài mòn, dung môi hoặc hóa chất mạnh, vì chúng có thể làm hỏng lớp sơn hoặc các bộ phận bên trong.
- Cảm biến bị cản trở: Ensure the sensor lens is not obstructed by furniture, curtains, or other objects that could block its field of view. A clear path to the sensor is crucial for accurate motion detection.
- Tích tụ bụi: Periodically wipe the sensor lens to prevent dust accumulation, which can reduce sensitivity.
KHAI THÁC. Xử lý sự cố
If you encounter issues with your Maestro sensor switch, refer to the following common troubleshooting steps:
- Lights do not turn ON automatically (Occupancy Mode):
- Verify the sensor's field of view không bị cản trở.
- Check the sensitivity setting; it might be too low.
- Ensure the switch is in Occupancy (Auto-On) mode.
- Confirm power is supplied to the switch.
- Lights do not turn OFF:
- Ensure there is no continuous motion within the sensor's range.
- Check the time delay setting; it might be set too long.
- Verify the switch is correctly wired, especially the load wire.
- Lights flicker or behave erratically:
- Confirm that a neutral wire is properly connected. This switch requires a neutral wire for stable operation.
- Đảm bảo tất cả các kết nối dây đều an toàn.
- If in a 3-way setup, ensure compatible companion switches are used and wired correctly.
- Switch is unresponsive:
- Turn off power at the circuit breaker for 15 seconds, then restore power. This can reset the switch.
- Kiểm tra tất cả các mối nối dây xem có bị lỏng hoặc lắp đặt sai vị trí không.
If these steps do not resolve the issue, contact Lutron customer support for further assistance.
6. Thông số kỹ thuật
| Tính năng | Chi tiết |
|---|---|
| Số hiệu mẫu | MS-OPS6M2N-DV-WH |
| Thương hiệu | Lutron |
| Chế độ hoạt động | Tự động |
| Loại liên hệ | Thường mở |
| Loại đầu nối | Đầu nối vít |
| Phần cuối | Vít |
| Kích thước sản phẩm (L x W x H) | 2.2 x 2.2 x 4.5 inch |
| Loại mạch | 3 chiều |
| Loại bộ truyền động | Nút nhấn |
| Vật liệu liên hệ | Đồng |
| Bảo vệ quốc tế Rating | IP54 |
| Phương pháp kiểm soát | Chạm |
| Giao thức kết nối | Hồng ngoại |
| Màu sắc | Trắng |
| Trọng lượng sản phẩm | 3.52 ounce |
| Dây trung tính cần thiết | Đúng |
7. Video sản phẩm
7.1 Lutron Maestro Sensor Switch Overview
Video 1: Một kết thúcview of the Lutron Maestro sensor switch features and benefits. This video provides a general introduction to the product's capabilities.
7.2 Advanced Features and Configuration
Video 2: A detailed look into the advanced features and configuration options of the Lutron Maestro sensor switch, including setting adjustments.
8. Thông tin bảo hành
Lutron products typically come with a limited warranty covering defects in materials and workmanship. For specific warranty terms and conditions applicable to your MS-OPS6M2N-DV-WH sensor switch, please refer to the warranty card included in the product packaging or visit the official Lutron webtrang web. Giữ lại bằng chứng mua hàng để yêu cầu bảo hành.
9. Hỗ trợ khách hàng
For technical assistance, troubleshooting, or product inquiries, please contact Lutron customer support. You can find contact information on the official Lutron webtrên trang web hoặc trong tài liệu sản phẩm.
Tài nguyên trực tuyến:
- Ghé thăm chính thức Cửa hàng Lutron trên Amazon để biết thêm sản phẩm và thông tin.
- Refer to the comprehensive FAQs and support documents available on the Lutron corporate webđịa điểm.


