
1. Giới thiệu
This manual provides detailed instructions for the safe and effective operation of your elecci S168 Drone. The S168 Drone is equipped with a high-resolution 1080P HD camera, a robust brushless motor, and an innovative screen controller for an enhanced flying experience. Key features include Waypoint Fly, Optical Flow Localization, Active Obstacle Avoidance, and One Key Take Off/Landing functionality.

Figure 1: elecci S168 Drone and Screen Controller
2. Nội dung gói hàng
Hãy đảm bảo tất cả các mặt hàng được liệt kê bên dưới đều có trong gói hàng của bạn:
- elecci S168 Drone
- Bộ điều khiển màn hình
- Pin sạc (x2)
- Túi xách
- Máy ảnh
- Thẻ SD
- Cáp sạc USB
- cánh quạt dự phòng
- Propeller Guards (optional)
- Tua vít

Figure 2: Complete package contents of the elecci S168 Drone.
3. Thiết lập
3.1 Lắp ráp máy bay không người lái
- Carefully unfold the drone arms until they click into place. Ensure all four arms are fully extended.
- If desired, attach the propeller guards by snapping them onto the designated points on each arm.
3.2 Lắp đặt và sạc pin
- Insert a fully charged battery into the battery compartment at the rear of the drone until it clicks securely.
- To charge the drone battery, connect the USB charging cable to the battery and a power source. The red light on the battery will stay on during charging and automatically turn off when fully charged.
3.3 Controller Setup and Charging
- Ensure the screen controller is fully charged. Connect the USB charging cable to the controller and a power source. The red light on the controller will stay on during charging and automatically turn off when fully charged.
- Attach the joystick controls to the remote controller by screwing them into the designated ports.
Video 1: Remote control charging and basic setup instructions.
Video 2: Kết thúcview of the elecci S168 Drone and Screen Controller features.
4. Hướng dẫn vận hành
4.1 Bật/Tắt nguồn
- Bật nguồn máy bay không người lái: Press and hold the power button on the top of the drone until the indicator lights illuminate and you hear a startup sound.
- Bộ điều khiển bật nguồn: Press and hold the power button on the screen controller until the screen turns on.
- Ghép nối: The drone and controller will automatically attempt to pair. Wait for the drone's indicator lights to become solid, indicating a successful connection.
- Tắt nguồn: Press and hold the power buttons on both the drone and controller until they shut down.
4.2 Cất cánh và hạ cánh
- Một chìa khóa để cất cánh: Place the drone on a flat, open surface. Press the One Key Take Off button on the controller. The drone will automatically ascend and hover at a stable altitude.
- Một chìa khóa hạ cánh: Nhấn nút Hạ cánh một chạm. Máy bay không người lái sẽ tự động hạ độ cao và tiếp đất nhẹ nhàng.
4.3 Điều khiển chuyến bay
Use the joysticks on the screen controller to maneuver the drone:
- Cần điều khiển trái: Kiểm soát độ cao (lên/xuống) và độ xoay (trái/phải).
- Cần điều khiển bên phải: Controls forward/backward and left/right strafing movements.
- Điều chỉnh tốc độ: The controller features multiple speed modes (e.g., low, medium, high) to suit different skill levels and wind conditions. Refer to the controller's buttons for speed selection.

Figure 3: Screen Controller displaying real-time drone footage.
4.4 Hoạt động của máy ảnh
The S168 Drone is equipped with a 1080P HD camera for capturing photos and videos.
- Góc máy ảnh có thể điều chỉnh: Use the dedicated buttons on the controller to adjust the camera's vertical angle during flight.
- Chụp ảnh/quay video: Use the photo and video buttons on the controller to capture aerial imagery. Footage is saved to the included SD card.
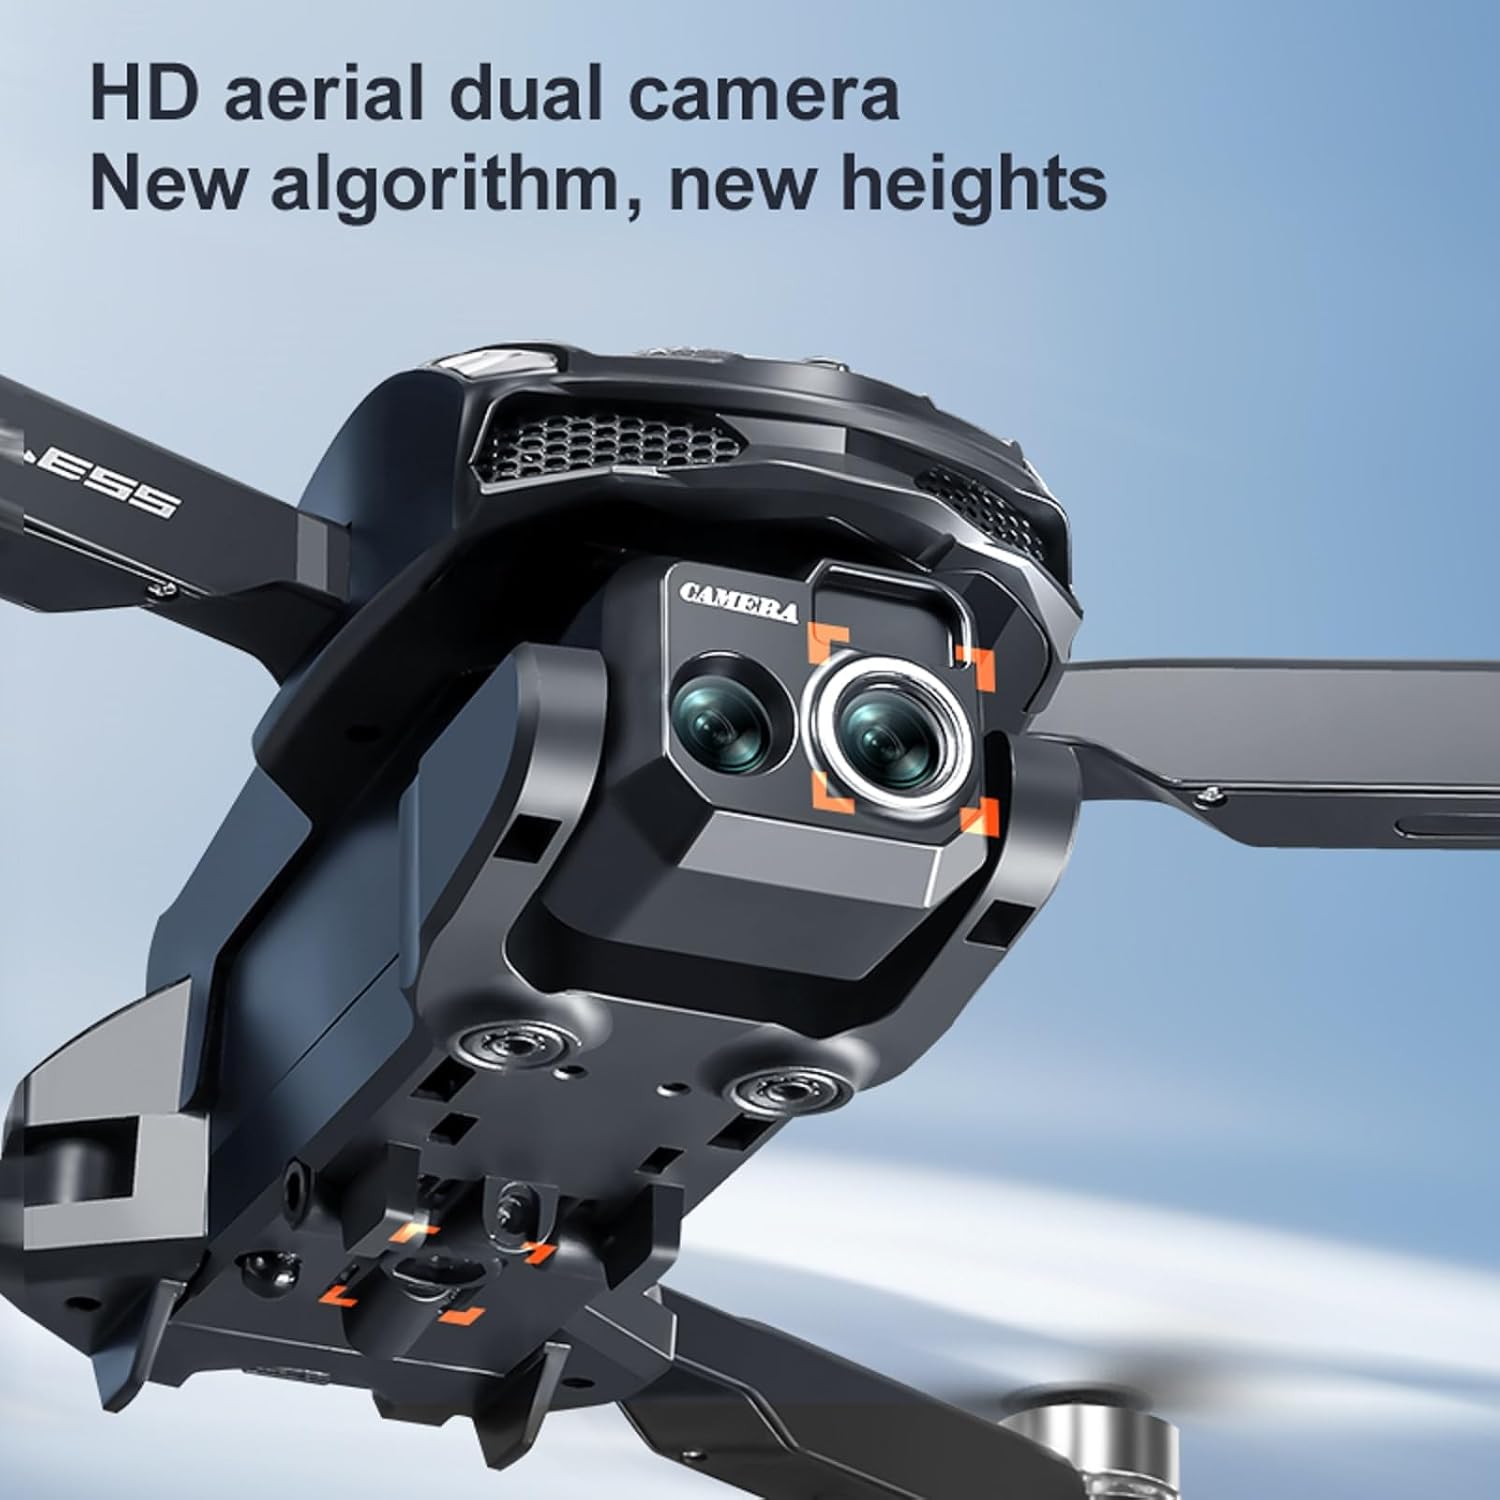
Figure 4: Detail of the drone's 1080P HD camera.
4.5 Tính năng Đặc biệt
- Optical Flow Localization: This feature provides stable hovering, especially useful for indoor flight or in areas with minimal GPS signal.
- Active Obstacle Avoidance: The drone can detect and avoid obstacles in its flight path, enhancing safety and preventing collisions.
- Lật 360°: Thực hiện các pha nhào lộn trên không ấn tượng chỉ với một lần nhấn nút.
- Bay theo điểm định vị: Program a flight path for automated navigation.
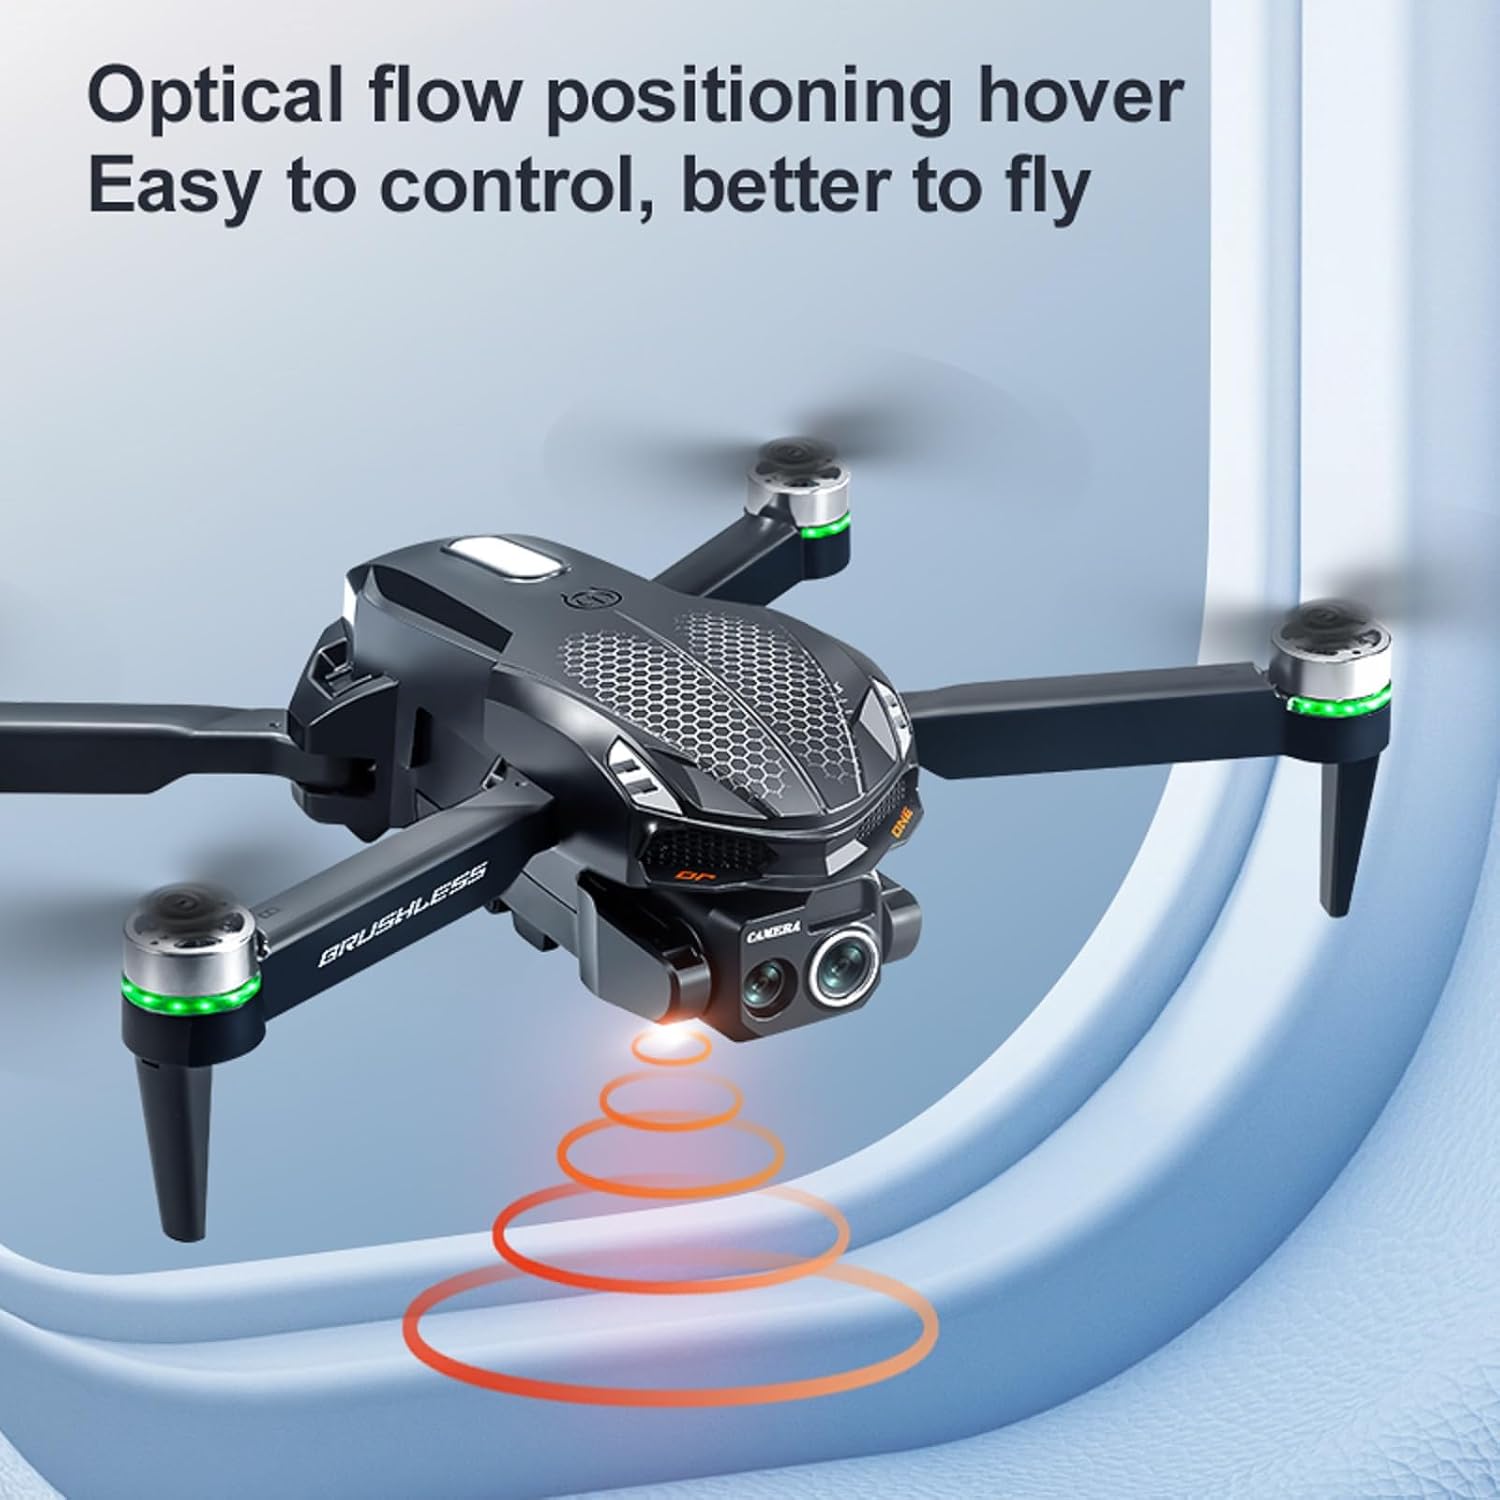
Figure 5: Drone utilizing optical flow positioning for stable flight.
Video 3: Demonstration of the elecci S168 Drone's flight capabilities and screen controller.
5. Bảo trì
- Chăm sóc pin: Bảo quản pin ở nơi khô ráo, thoáng mát. Không sạc quá mức hoặc xả quá mức.
- Thay thế cánh quạt: If propellers are damaged, use the provided screwdriver to replace them with spare propellers. Ensure correct orientation (A and B propellers).
- Vệ sinh: Use a soft, dry cloth to clean the drone and controller. Avoid water or harsh chemicals.
KHAI THÁC. Xử lý sự cố
| Vấn đề | Nguyên nhân có thể | Giải pháp |
|---|---|---|
| Máy bay không người lái không bật nguồn | Pin yếu; Lắp đặt pin không đúng cách | Charge battery; Reinstall battery correctly |
| Bộ điều khiển không bật nguồn. | Pin yếu | Bộ điều khiển sạc |
| Drone and controller fail to pair | Interference; Incorrect pairing sequence | Move to an open area; Power cycle both devices and try again |
| Chuyến bay không ổn định | Strong wind; Uncalibrated gyroscope | Fly in calm conditions; Perform gyroscope calibration (refer to controller instructions) |
| Chức năng tránh chướng ngại vật không hoạt động | Sensors obstructed; Feature disabled | Vệ sinh cảm biến; Đảm bảo tính năng này được bật trong cài đặt. |
7. Thông số kỹ thuật
- Tên mẫu: Tập 168
- Thương hiệu: elecci
- Tính năng đặc biệt: 360 Degree Flip, Auto Follow, Brushless Motor, One Button Return, One Key Rotation, Optical Flow, Active Obstacle Avoidance
- Độ phân giải quay video: 1080p
- Độ phân giải tĩnh hiệu quả: 2MP
- Công nghệ kết nối: Bluetooth, WiFi
- Trọng lượng sản phẩm: 0.4 pound (khoảng 6.4 ounce)
- Kích thước sản phẩm: Dài 3.2" x Rộng 1.9" x Cao 5"
- Thành phần của pin: Pin Lithium Ion
- Các thành phần bao gồm: Battery, Camera, Handbag, SD Card, Screen Controller

Figure 6: Drone highlighting its brushless motor technology.
8. Bảo hành và Hỗ trợ
For warranty information, technical support, or service inquiries, please refer to the documentation provided with your purchase or contact elecci customer service directly. Keep your proof of purchase for warranty claims.