
Giới thiệu
This manual provides detailed instructions for the installation, operation, and maintenance of your Zyyini B150M V3 Computer Motherboard. Please read this manual thoroughly before proceeding with installation to ensure proper setup and to prevent damage to the components. This motherboard is designed for desktop computers, supporting LGA 1151 CPUs and DDR4 memory, offering a stable and efficient platform for various computing needs.
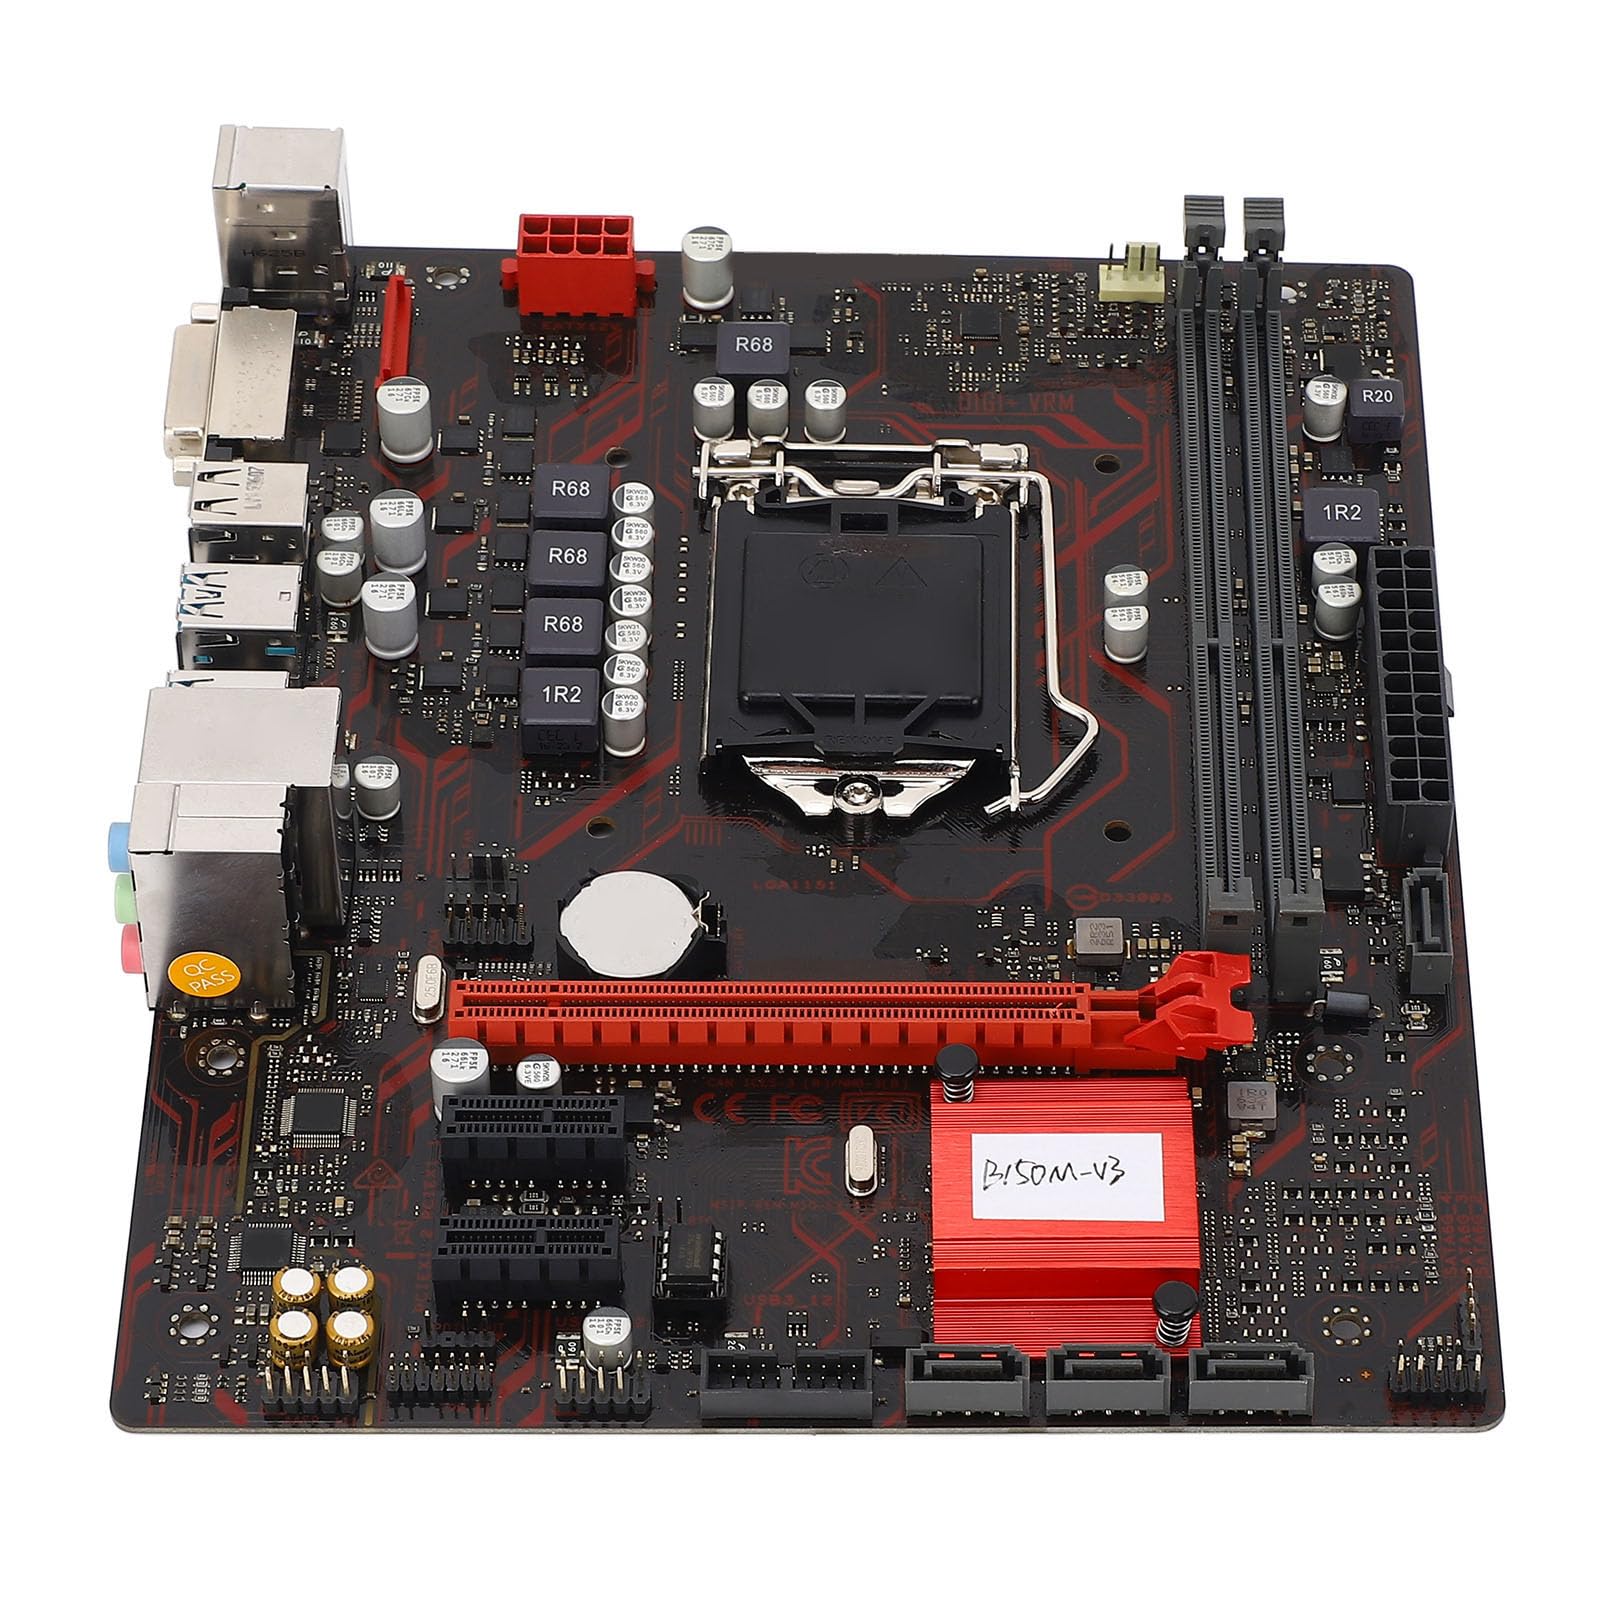
Hình 1: Hếtview of the Zyyini B150M V3 Motherboard.
Thiết lập và cài đặt
Before beginning installation, ensure your workspace is clean and static-free. It is recommended to wear an anti-static wrist strap to prevent electrostatic discharge (ESD) damage to components.
1. Biện pháp phòng ngừa an toàn
- Luôn ngắt nguồn điện khỏi ổ cắm trên tường trước khi lắp đặt hoặc tháo bất kỳ linh kiện nào.
- Handle components by their edges to avoid touching sensitive circuits.
- Ensure proper grounding to prevent ESD.
- Refer to the CPU, memory, and other component manuals for specific installation instructions.
2. Bố trí bo mạch chủ

Hình 2: Từ trên xuống view highlighting key components and connectors on the motherboard.
Familiarize yourself with the locations of the CPU socket, memory slots, PCI-E slots, SATA ports, and power connectors before installation.
3. Lắp đặt CPU (LGA 1151)
- Xác định vị trí khe cắm CPU LGA 1151 trên bo mạch chủ.
- Gently push down the load lever and pull it sideways to open the CPU socket cover.
- Carefully align the notches on your Intel Core i7/i5/i3/Pentium/Celeron (14nm) processor with the corresponding keys on the socket. Ensure the gold triangle on the CPU matches the triangle on the socket.
- Đặt CPU nhẹ nhàng vào khe cắm mà không cần dùng lực mạnh.
- Đóng tấm đỡ tải và đẩy cần nâng tải trở lại vị trí cũ cho đến khi nghe tiếng "cạch".

Hình 3: Cận cảnh view of the LGA 1151 CPU socket, ready for processor installation.
4. Memory Installation (DDR4 DIMM)
The motherboard features two DDR4 DIMM slots, supporting dual-channel DDR4 2133MHz memory up to a maximum of 32GB.
- Mở các kẹp ở cả hai đầu khe cắm DIMM.
- Căn chỉnh rãnh trên mô-đun bộ nhớ DDR4 với chốt trong khe cắm DIMM.
- Lắp chặt mô-đun bộ nhớ vào khe cắm cho đến khi các kẹp khớp vào vị trí. Đảm bảo cả hai kẹp đều được đóng lại.

Figure 4: The two DDR4 DIMM slots for memory installation.
5. Storage Device Installation (SATA III & M.2)
The motherboard provides 4 x Serial ATA III interfaces and 1 x M.2 slot for storage devices.
- Thiết bị SATA: Connect one end of a SATA data cable to a SATA III port on the motherboard and the other end to your SATA hard drive or SSD. Connect the SATA power cable from your power supply to the drive.
- M.2 Devices: Insert your M.2 SSD into the M.2 slot, securing it with the provided screw.
6. Lắp đặt thẻ mở rộng (PCI-E)
The motherboard includes 1 x PCI-E x16 graphics card slot and 2 x PCI-E x1 slots for expansion cards.
- Align your PCI-E expansion card (e.g., graphics card, sound card, network card) with the desired PCI-E slot.
- Press the card firmly into the slot until it is fully seated. Secure the card with a screw to the chassis.
7. Kết nối các thiết bị ngoại vi và bảng điều khiển phía trước
Connect your USB devices, DVI display, audio devices, and Ethernet cable to the rear I/O panel. Connect the front panel connectors (power button, reset button, USB ports, audio jacks) from your PC case to the corresponding headers on the motherboard.

Hình 5: Chi tiết view of the rear I/O panel, showing USB, DVI, Ethernet, and audio ports.
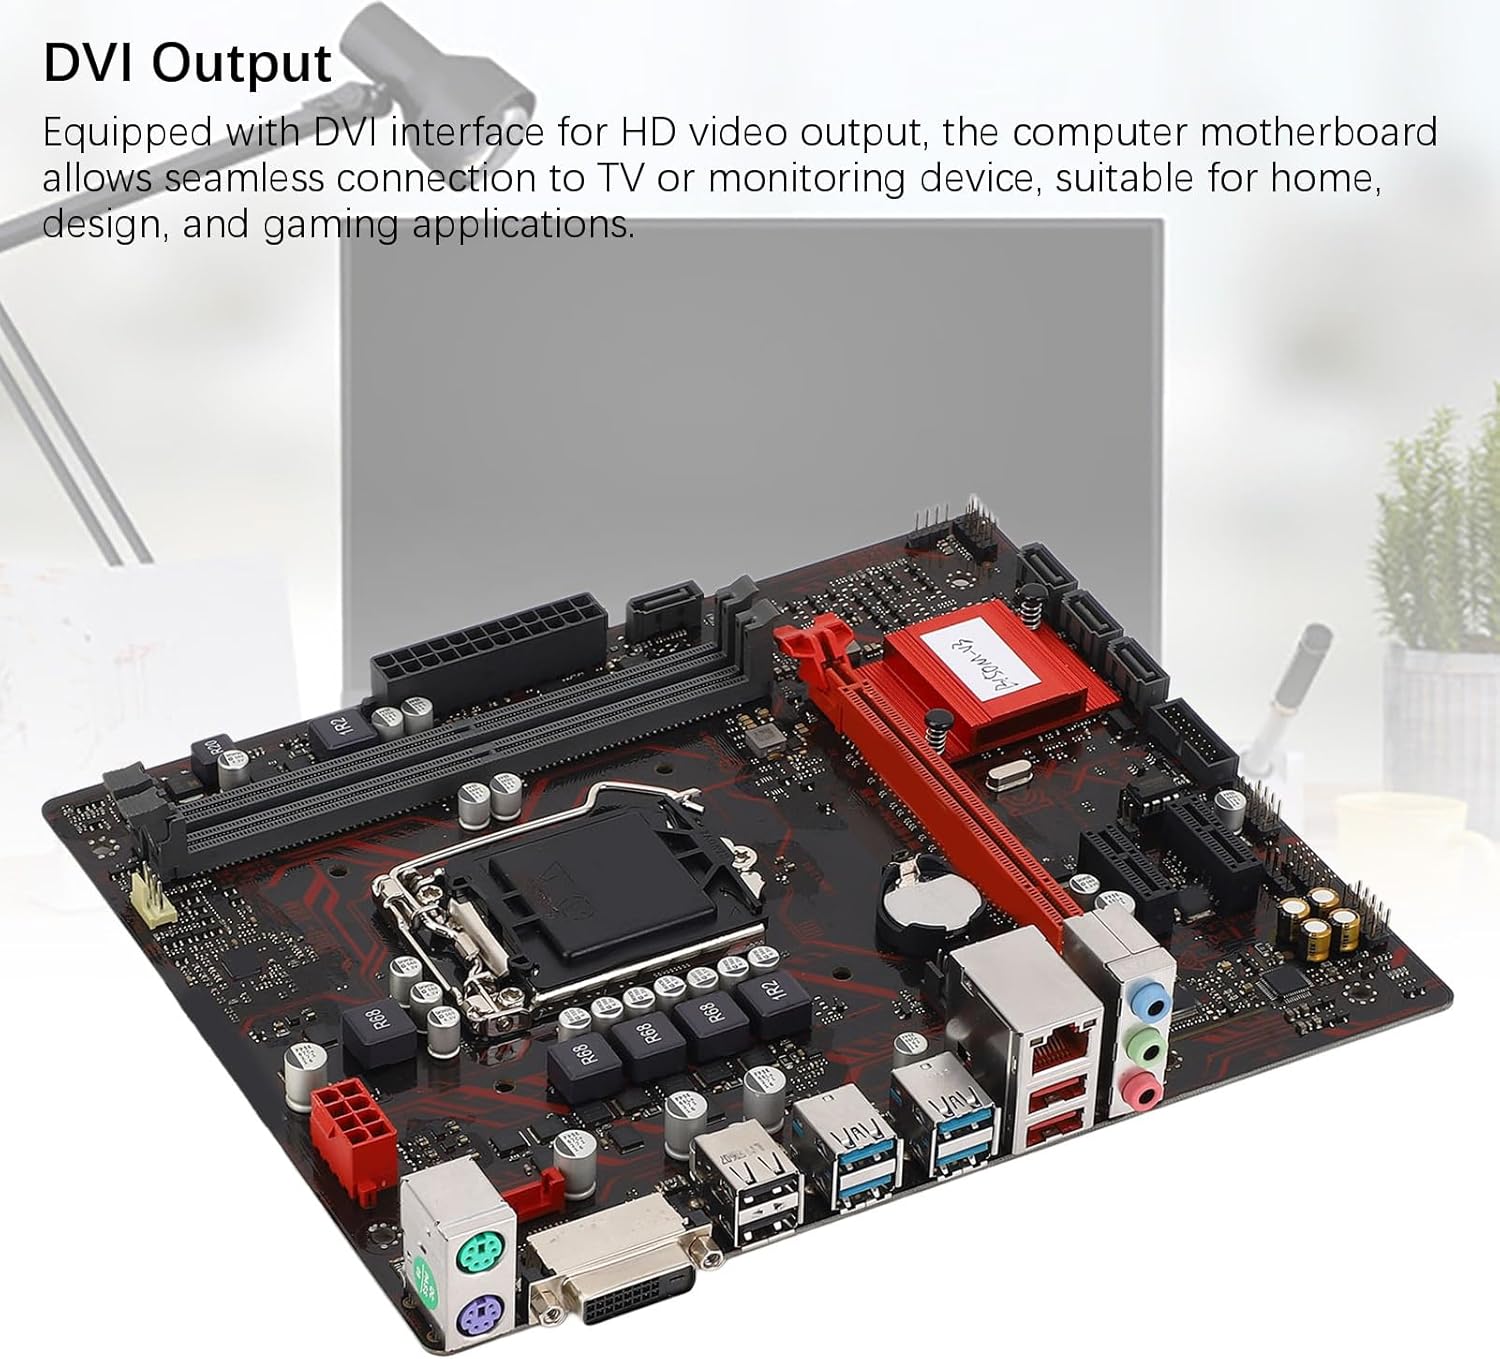
Figure 6: The DVI interface for connecting a display.
8. Kết nối nguồn
Connect the 24-pin ATX power connector and the 8-pin CPU power connector from your power supply to the respective ports on the motherboard. Ensure they are firmly seated.

Hình 7: Góc cạnh view showing the location of power connectors and other ports.
Hướng dẫn sử dụng
1. Khởi động ban đầu
After all components are installed and connected, power on your system. The system should initiate the boot process. If no display appears, refer to the troubleshooting section.
2. Cấu hình BIOS/UEFI
During boot-up, press the designated key (usually KHÔNG or F2) to enter the BIOS/UEFI setup. Here you can configure boot order, system time, and other advanced settings. Save changes before exiting.
3. Cài đặt trình điều khiển
After installing your operating system, install the necessary drivers for the motherboard chipset, network, and audio. These are typically provided on a driver CD or available for download from the manufacturer's webđịa điểm.
BẢO TRÌ
1. Vệ sinh bụi
Regularly clean the inside of your computer case to prevent dust buildup, which can lead to overheating and component failure. Use compressed air to gently remove dust from fans, heatsinks, and motherboard surfaces.
2. Cập nhật BIOS
Kiểm tra định kỳ của nhà sản xuất website for BIOS updates. BIOS updates can improve system stability, add support for new hardware, or fix bugs. Follow the update instructions carefully to avoid damaging the motherboard.
Xử lý sự cố
1. Không có điện
- Ensure the power supply is connected to the wall outlet and switched on.
- Verify that the 24-pin and 8-pin power connectors are securely attached to the motherboard.
- Kiểm tra kết nối của công tắc nguồn mặt trước với bo mạch chủ.
2. Không hiển thị
- Confirm that the monitor is connected to the correct video output (DVI) on the motherboard or graphics card and is powered on.
- Reseat the memory modules. Try booting with only one memory module installed.
- Tháo lắp lại card đồ họa (nếu có).
- Ensure the CPU is properly installed and the CPU cooler is securely attached.
3. Sự không ổn định của hệ thống / Sự cố sập hệ thống
- Check for overheating. Ensure all fans are working and heatsinks are clean.
- Verify that all components (CPU, RAM, storage) are properly seated.
- Chạy các công cụ chẩn đoán bộ nhớ để kiểm tra xem RAM có bị lỗi hay không.
- Đảm bảo tất cả trình điều khiển đều được cập nhật.
Thông số kỹ thuật

Figure 8: The motherboard's robust construction ensures stable performance and longevity.
| Tính năng | Chi tiết |
|---|---|
| Mô hình bo mạch chủ | B150M-V3 |
| Bộ vi mạch | Bộ vi xử lý B150 |
| Ổ cắm CPU | LGA 1151 |
| Compatible CPU Type | Intel Core i7, i5, i3, Pentium, Celeron (14nm processors) |
| Loại bộ nhớ | 2 x DDR4 DIMM (Dual Channel) |
| Tốc độ bộ nhớ | 2133MHz |
| Dung lượng bộ nhớ tối đa | 32GB |
| Tiêu chuẩn PCI-E | PCI-E 3.0 |
| PCI-E x16 Slots | 1 |
| PCI-E x1 Slots | 2 |
| Giao diện lưu trữ | 4 x Serial ATA III, 1 x M.2 |
| USB Interfaces (Rear) | 4 x USB3.0, 4 x USB2.0 |
| USB Interfaces (Internal) | 1 x USB3.0 header, 1 x USB2.0 header |
| Giao diện video | 1x DVI |
| Network Chip | Realtek RTL8111GR Gigabit Ethernet |
| Chip âm thanh | Realtek ALC887 8-Channel |
| Giao diện nguồn | One 8-Pin, One 24-Pin |
| Yếu tố hình thức | M-ATX |
| Chế độ cấp nguồn | 5 Giai đoạn |
| Giao diện khác | RJ45, Chassis Fan, Internal Speaker, System Panel, Sound, PS/2 Mouse, PS/2 Keyboard, COM |
Thông tin bảo hành
For specific warranty terms and conditions, please refer to the documentation provided with your purchase or visit the official Zyyini webTrang web. Phạm vi bảo hành thường bao gồm các lỗi về vật liệu và tay nghề trong điều kiện sử dụng bình thường.
Hỗ trợ khách hàng
If you encounter any issues that cannot be resolved using this manual, please contact your retailer or visit the Zyyini official support channels for assistance. Have your product model number (B150M-V3) and purchase details ready when seeking support.