
Giới thiệu
Cảm ơn bạn đã muaasing the ThermoPro TP60-2 Digital Wireless Indoor Outdoor Thermometer and Hygrometer. This device is designed to provide accurate temperature and humidity readings for both indoor and outdoor environments. It features a wireless remote sensor with a long transmission range, allowing you to monitor conditions in various locations from a central display unit. Please read this manual thoroughly before using the device to ensure proper operation and to maximize its lifespan.
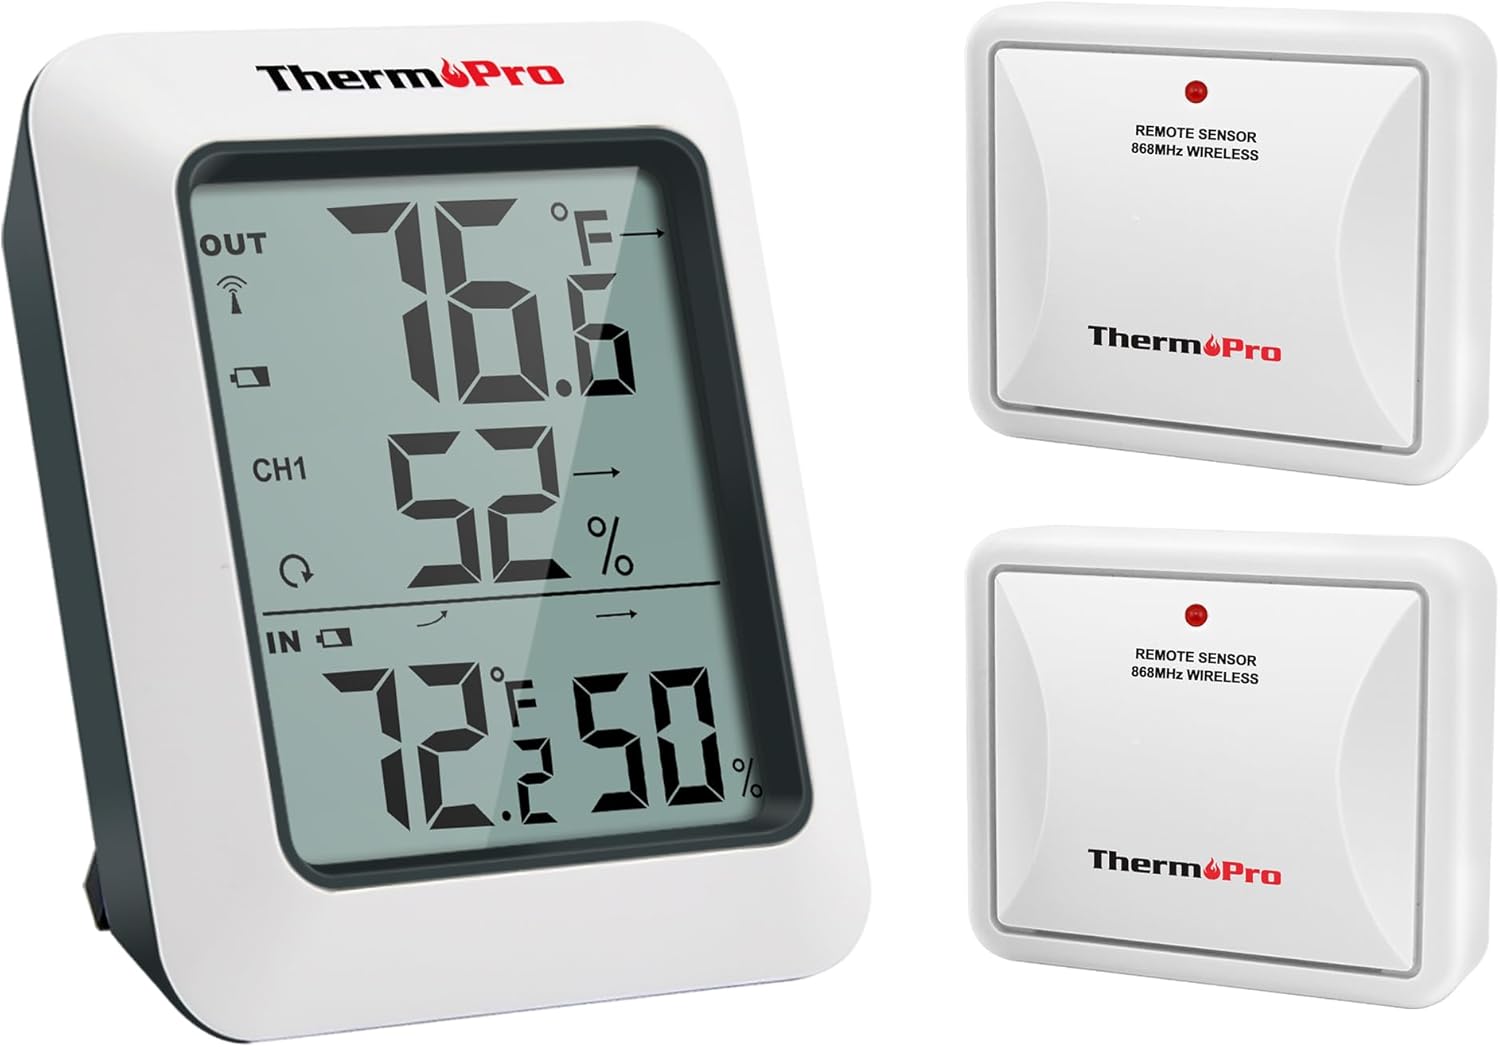
The image displays the ThermoPro TP60-2 main display unit alongside two wireless remote sensors, illustrating the complete product package.
Nội dung gói
- 1 x Base Station (Receiver)
- 2 x Remote Sensors (Transmitters)
- 6 x AAA Size Batteries (included)
- 1 x Hướng dẫn sử dụng
Các tính năng chính
- Simultaneous display of indoor and outdoor temperature and humidity.
- Wireless transmission range of up to 500ft (150m) in open areas.
- Records all-time and 24-hour maximum and minimum temperature and humidity readings.
- Temperature trend arrows indicate whether conditions are rising, falling, or stable.
- Supports up to 3 remote sensors (two included, additional sensors sold separately).
- Large LCD display for easy readability.
- Switchable temperature units (°F/°C).
- Low battery indicator for both main unit and remote sensors.

This diagram shows the wireless remote sensor transmitting data to the main unit over a distance of up to 500 feet (150 meters), highlighting its long-range capability.

The image demonstrates the main unit's ability to connect with and display readings from up to three remote sensors, allowing monitoring of multiple areas simultaneously.
Cài đặt
1. Lắp đặt pin
- Mở ngăn chứa pin ở phía sau thiết bị chính và từng cảm biến từ xa.
- Insert the provided AAA batteries, ensuring correct polarity (+ and -).
- Đóng các ngăn chứa pin lại một cách an toàn.
2. Pairing Remote Sensors
The main unit and remote sensors are pre-paired at the factory. If they do not connect automatically, follow these steps:
- Place the main unit and remote sensor(s) close to each other.
- Ensure batteries are correctly installed in all units.
- On the main unit, press and hold the 'CHANNEL' button for 3 seconds to initiate pairing. The 'OUT' section on the display will flash.
- On each remote sensor, press the 'TX' button once. The sensor's LED indicator will flash.
- The main unit should receive signals from the sensor(s) within a few minutes. Once connected, the outdoor temperature and humidity will appear on the display, and the flashing will stop.
- If pairing fails, remove batteries from both units, wait a few seconds, and repeat the steps.
Hoạt động
1. Màn hình chính đã kết thúcview

Một chi tiết view of the main display unit, clearly showing current indoor and outdoor temperature and humidity, channel information, and trend arrows indicating changes.
- TRONG: Nhiệt độ và độ ẩm trong nhà.
- NGOÀI: Outdoor temperature and humidity from the selected channel.
- CH1 / CH2 / CH3: Indicates the active remote sensor channel.
- Mũi tên xu hướng: Indicates temperature/humidity trends (rising, falling, stable).
- LỚN NHẤT NHỎ NHẤT: Displays maximum/minimum recorded values.
2. Lựa chọn đơn vị nhiệt độ (°F/°C)
Press the '°F/°C' button on the back of the main unit to switch between Fahrenheit and Celsius temperature display.
3. ViewGhi lại giá trị tối đa/tối thiểu
Press the 'MAX/MIN' button once to display the maximum temperature and humidity recorded since the last reset. Press it again to display the minimum values. Press a third time to return to current readings.
4. Resetting Max/Min Records
Trong khi viewing MAX or MIN records, press and hold the 'MAX/MIN' button for 3 seconds to clear the recorded data. The display will show current readings, and new MAX/MIN values will begin recording.
5. Trend Indicators

This graphic explains how the temperature and humidity trend indicators on the display show whether conditions are rising, falling, or remaining stable.
- Mũi tên lên (↑): Nhiệt độ/độ ẩm đang tăng lên.
- Mũi tên xuống (↓): Temperature/humidity is falling.
- Mũi tên ngang (→): Temperature/humidity is stable.
Hướng dẫn sắp xếp
1. Vị trí đặt đơn vị chính
The main unit can be placed on a tabletop using its integrated stand or mounted on a wall using the keyhole slot on its back. Choose a location indoors that is easily visible and away from direct sunlight, heat sources, or drafts that could affect indoor readings.
2. Remote Sensor Placement
The remote sensor is designed for outdoor use but should be protected from direct precipitation and prolonged direct sunlight for accurate readings and extended lifespan. Ideal locations include under an eaves, beneath a porch, or inside a sheltered area. Ensure the sensor is within the 500ft (150m) wireless range of the main unit and that there are minimal obstructions (thick walls, large metal objects) between the units for optimal signal strength.

This image illustrates the versatile placement options for the main unit and remote sensor, including a built-in tabletop stand and a keyhole for wall mounting.
BẢO TRÌ
1. Thay thế pin
When the low battery indicator appears on the display for either the main unit or a remote sensor, replace the batteries promptly. Use new AAA batteries and ensure correct polarity. After replacing batteries in a remote sensor, you may need to re-pair it with the main unit by following the 'Pairing Sensors' steps.
2. Vệ sinh
Làm sạch thiết bị bằng một miếng vải mềm,amp cloth. Do not use abrasive cleaners or solvents, as these may damage the plastic components or the display. Avoid submerging the units in water.
Xử lý sự cố
- No outdoor reading or flashing dashes on the display:
a. Ensure the remote sensor is within range of the main unit.
b. Relocate the main unit or remote sensor to reduce interference from electronic devices or large metal objects.
c. Check if the batteries in the remote sensor are low or need replacement. Re-pair the sensor if necessary. - Kết quả đo nhiệt độ/độ ẩm không chính xác:
a. Ensure both units are placed away from direct sunlight, heat sources, or drafts.
b. Allow the units to stabilize for at least 30 minutes after initial setup or relocation. - Màn hình mờ hoặc tối:
a. Replace the batteries in the main unit.
Thông số kỹ thuật
| Tính năng | Chi tiết |
|---|---|
| Phạm vi nhiệt độ trong nhà | -4°F đến 158°F (-20°C đến 70°C) |
| Phạm vi nhiệt độ ngoài trời | -4°F đến 158°F (-20°C đến 70°C) |
| Độ ẩm | 10% đến 99% |
| Phạm vi truyền dẫn không dây | Up to 500ft (150m) in open air |
| Nguồn điện (Đơn vị chính) | 2 pin AAA |
| Nguồn điện (Cảm biến từ xa) | 2 pin AAA |
| Kiểu hiển thị | LCD kỹ thuật số |
| Thời gian phản hồi | 10 giây |
| Vật liệu | Nhựa |

The image provides a visual representation of the main unit's dimensions, indicating its compact size.
Bảo hành và Hỗ trợ
ThermoPro provides a 3-year warranty for this product from the date of purchase. This warranty covers defects in materials and workmanship under normal use. For warranty claims or technical support, please contact ThermoPro customer service. You may find contact information on the ThermoPro official webtrang web hoặc thông qua nhà bán lẻ của bạn.
Registering your product on the ThermoPro website may extend your warranty period. Please refer to the official ThermoPro website for the most current warranty terms and registration details.