1. Giới thiệu
Thank you for choosing the Konus Konustart EQ 70 x 900mm Electronic Refractor Telescope. This instrument is designed for astronomical observation, offering a 70mm objective lens and a 900mm focal length for clear views of celestial objects. The included electronic motor facilitates tracking, making it suitable for extended observation and astrophotography. Please read this manual thoroughly before assembly and operation to ensure proper use and longevity of your telescope.
2. Thông tin an toàn
- Never look directly at the sun through the telescope or its finderscope without a professionally manufactured solar filter. Permanent eye damage or blindness can result.
- Không được phép để kính thiên văn ở nơi không có người giám sát, đặc biệt là khi có trẻ em ở gần.
- Handle optical components with care. Avoid touching lens surfaces to prevent smudges and scratches.
- Ensure all locking screws are tightened securely during assembly to prevent accidental drops or damage.
- Keep the telescope away from moisture and extreme temperatures.
3. Nội dung gói hàng
Verify that all components are present before beginning assembly. If any parts are missing or damaged, contact Konus customer support.
- Optical Tube Assembly (OTA) - 70mm Refractor
- Equatorial (EQ) Mount
- Chân đế ba chân bằng nhôm có thể điều chỉnh, kèm khay đựng phụ kiện.
- Electronic Tracking Motor
- Finderscope (Reflex type)
- Eyepieces (Plossl type, typically 25mm and 10mm)
- Gương chéo
- Counterweights and Counterweight Shaft
- Slow-motion Control Cables
- Hướng dẫn sử dụng
4. Lắp ráp và thiết lập
Follow these steps to assemble your Konus Konustart EQ 70 x 900mm telescope.
4.1. Lắp ráp chân máy
- Spread the tripod legs outwards until they are fully extended.
- Attach the accessory tray to the center brace of the tripod. This will also help stabilize the tripod.
- Adjust the height of the tripod legs to a comfortable viewing level, ensuring the tripod head is level.
4.2. Mounting the Equatorial Mount
- Place the equatorial mount onto the tripod head. Secure it using the large bolt located underneath the tripod head.
- Attach the counterweight shaft to the equatorial mount. Slide the counterweights onto the shaft and secure them with the locking screw.
- Attach the slow-motion control cables to their respective gears on the Right Ascension (RA) and Declination (DEC) axes.
4.3. Lắp ống kính quang học
- Carefully place the optical tube assembly into the mounting rings on the equatorial mount.
- Tighten the mounting ring screws to secure the optical tube. Ensure the telescope is balanced by adjusting its position within the rings.
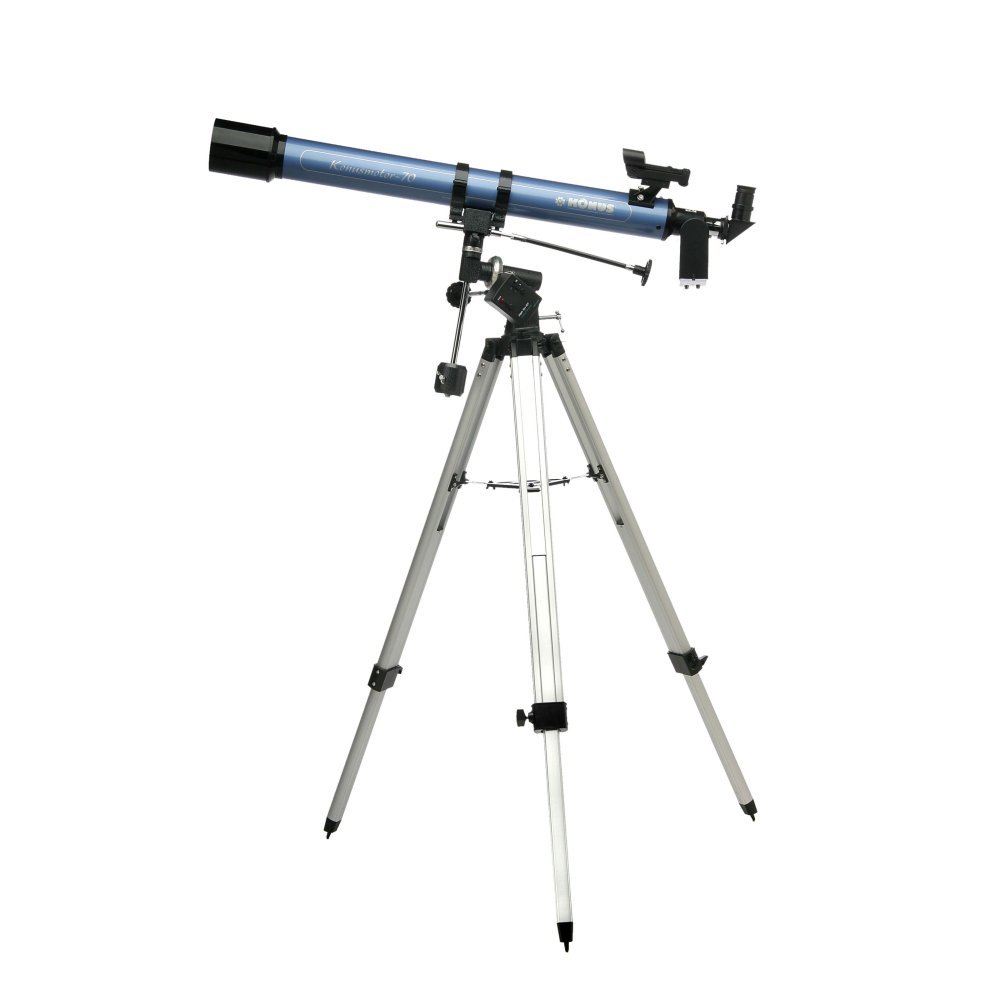
Image 1: The Konus Konustart EQ 70 x 900mm Electronic Refractor Telescope fully assembled on its equatorial mount and tripod.
4.4. Lắp đặt kính ngắm
- Slide the finderscope into its bracket on the optical tube.
- Tighten the small thumbscrews on the bracket to hold the finderscope securely.
4.5. Inserting Eyepieces and Diagonal
- Unscrew the dust cap from the focuser tube.
- Insert the diagonal mirror into the focuser tube and secure it with the thumbscrew.
- Insert the desired eyepiece (e.g., 25mm for lower magnification, 10mm for higher magnification) into the diagonal and secure it with the thumbscrew.
4.6. Connecting the Electronic Motor
- Attach the electronic tracking motor to the Right Ascension (RA) axis of the equatorial mount. Ensure the gears mesh correctly.
- Secure the motor with its locking screw.
- Insert the required batteries (not included) into the motor's battery compartment.
4.7. Polar Alignment (Basic)
For accurate tracking, the equatorial mount needs to be aligned with the Earth's rotational axis. This is known as polar alignment.
- Point the RA axis of the mount towards Polaris (the North Star) in the Northern Hemisphere, or Sigma Octantis in the Southern Hemisphere.
- Adjust the latitude setting on the mount to match your geographical latitude.
- Fine-tune the azimuth (left/right) and altitude (up/down) adjustments until Polaris is centered in the finderscope when the RA axis is pointed correctly.
5. Hướng dẫn vận hành
5.1. Căn chỉnh kính ngắm
The finderscope helps locate objects quickly. It must be aligned with the main telescope.
- Hướng kính viễn vọng chính về một vật thể cố định ở xa (ví dụ: cột đèn đường hoặc một cái cây ở xa) vào ban ngày.
- Đặt vật thể vào chính giữa thị kính của kính thiên văn chính.
- Look through the finderscope and adjust its alignment screws until the same object is centered in the finderscope's reticle.
5.2. Tập trung
Rotate the focuser knobs until the image in the eyepiece is sharp and clear. You may need to adjust focus slightly when changing eyepieces or observing different objects.
5.3. Locating Celestial Objects
- Use the finderscope to locate your desired celestial object.
- Once the object is centered in the finderscope, look through the main telescope's eyepiece. It should be visible, though perhaps not perfectly centered.
- Use the slow-motion control cables to fine-tune the telescope's position and center the object in the eyepiece.
5.4. Using the Electronic Tracking Motor
Once an object is centered and the mount is polar-aligned, turn on the electronic tracking motor. The motor will automatically move the telescope at sidereal rate (the rate at which stars appear to move across the sky), keeping the object centered in your eyepiece for extended viewing without constant manual adjustment. This is particularly useful for high-magnification observation and astrophotography.
6. Bảo trì
6.1. Vệ sinh ống kính
- Use a soft brush or compressed air to remove loose dust particles from the objective lens and eyepieces.
- For stubborn smudges, use a specialized optical cleaning solution and a clean microfiber cloth designed for optics. Apply the solution to the cloth, not directly to the lens.
- Clean gently in a circular motion from the center outwards.
6.2. Lưu trữ
- Always replace dust caps on the objective lens and focuser when not in use.
- Bảo quản kính thiên văn ở nơi khô ráo, không bụi, tốt nhất là trong bao bì gốc hoặc hộp đựng có lớp đệm.
- Remove batteries from the electronic motor if storing for extended periods to prevent leakage.
6.3. Chăm sóc chung
- Kiểm tra định kỳ tất cả các ốc vít và bu lông để đảm bảo chúng được chặt.
- Avoid exposing the telescope to sudden temperature changes, which can cause condensation.
KHAI THÁC. Xử lý sự cố
| Vấn đề | Nguyên nhân có thể | Giải pháp |
|---|---|---|
| Hình ảnh bị mờ hoặc mất nét. | Bộ phận lấy nét chưa được điều chỉnh chính xác. | Rotate the focuser knobs until the image is sharp. |
| Không hiển thị hình ảnh. | Dust caps still on. Eyepiece not inserted. Finderscope not aligned. | Remove all dust caps. Insert an eyepiece. Align the finderscope with the main telescope. |
| Các vật thể trôi dạt ra khỏi view nhanh chóng. | Electronic motor off or batteries low. Poor polar alignment. | Ensure motor is on and has fresh batteries. Improve polar alignment. |
| Finderscope not aligned with main telescope. | Finderscope alignment screws need adjustment. | Follow the finderscope alignment procedure in Section 5.1. |
| Vibrations during observation. | Tripod unstable. Loose connections. | Ensure tripod legs are fully extended and accessory tray is secured. Tighten all mounting screws. |
8. Thông số kỹ thuật
- Người mẫu: Konustart EQ 70 x 900mm
- Kiểu: Kính thiên văn khúc xạ
- Đường kính vật kính: 70mm
- Độ dài tiêu cự: 900mm
- Kiểu gắn kết: Equatorial (EQ)
- Kính tìm: Phản xạ
- Mô tả thấu kính thị kính: Plossl
- Loại tiêu điểm: Lấy nét thủ công
- Theo dõi: Electronic Motor (for Right Ascension)
- Trọng lượng sản phẩm: 9.07kg
- Mã số sản phẩm của nhà sản xuất: 1782
- UPC: 698156017821, 698156117828
9. Bảo hành và Hỗ trợ
Konus products are manufactured to high-quality standards. For information regarding warranty coverage, technical support, or service, please refer to the warranty card included with your product or visit the official Konus webtrang web. Giữ lại biên lai mua hàng làm bằng chứng mua hàng.
For further assistance, please contact Konus customer service through their official channels.